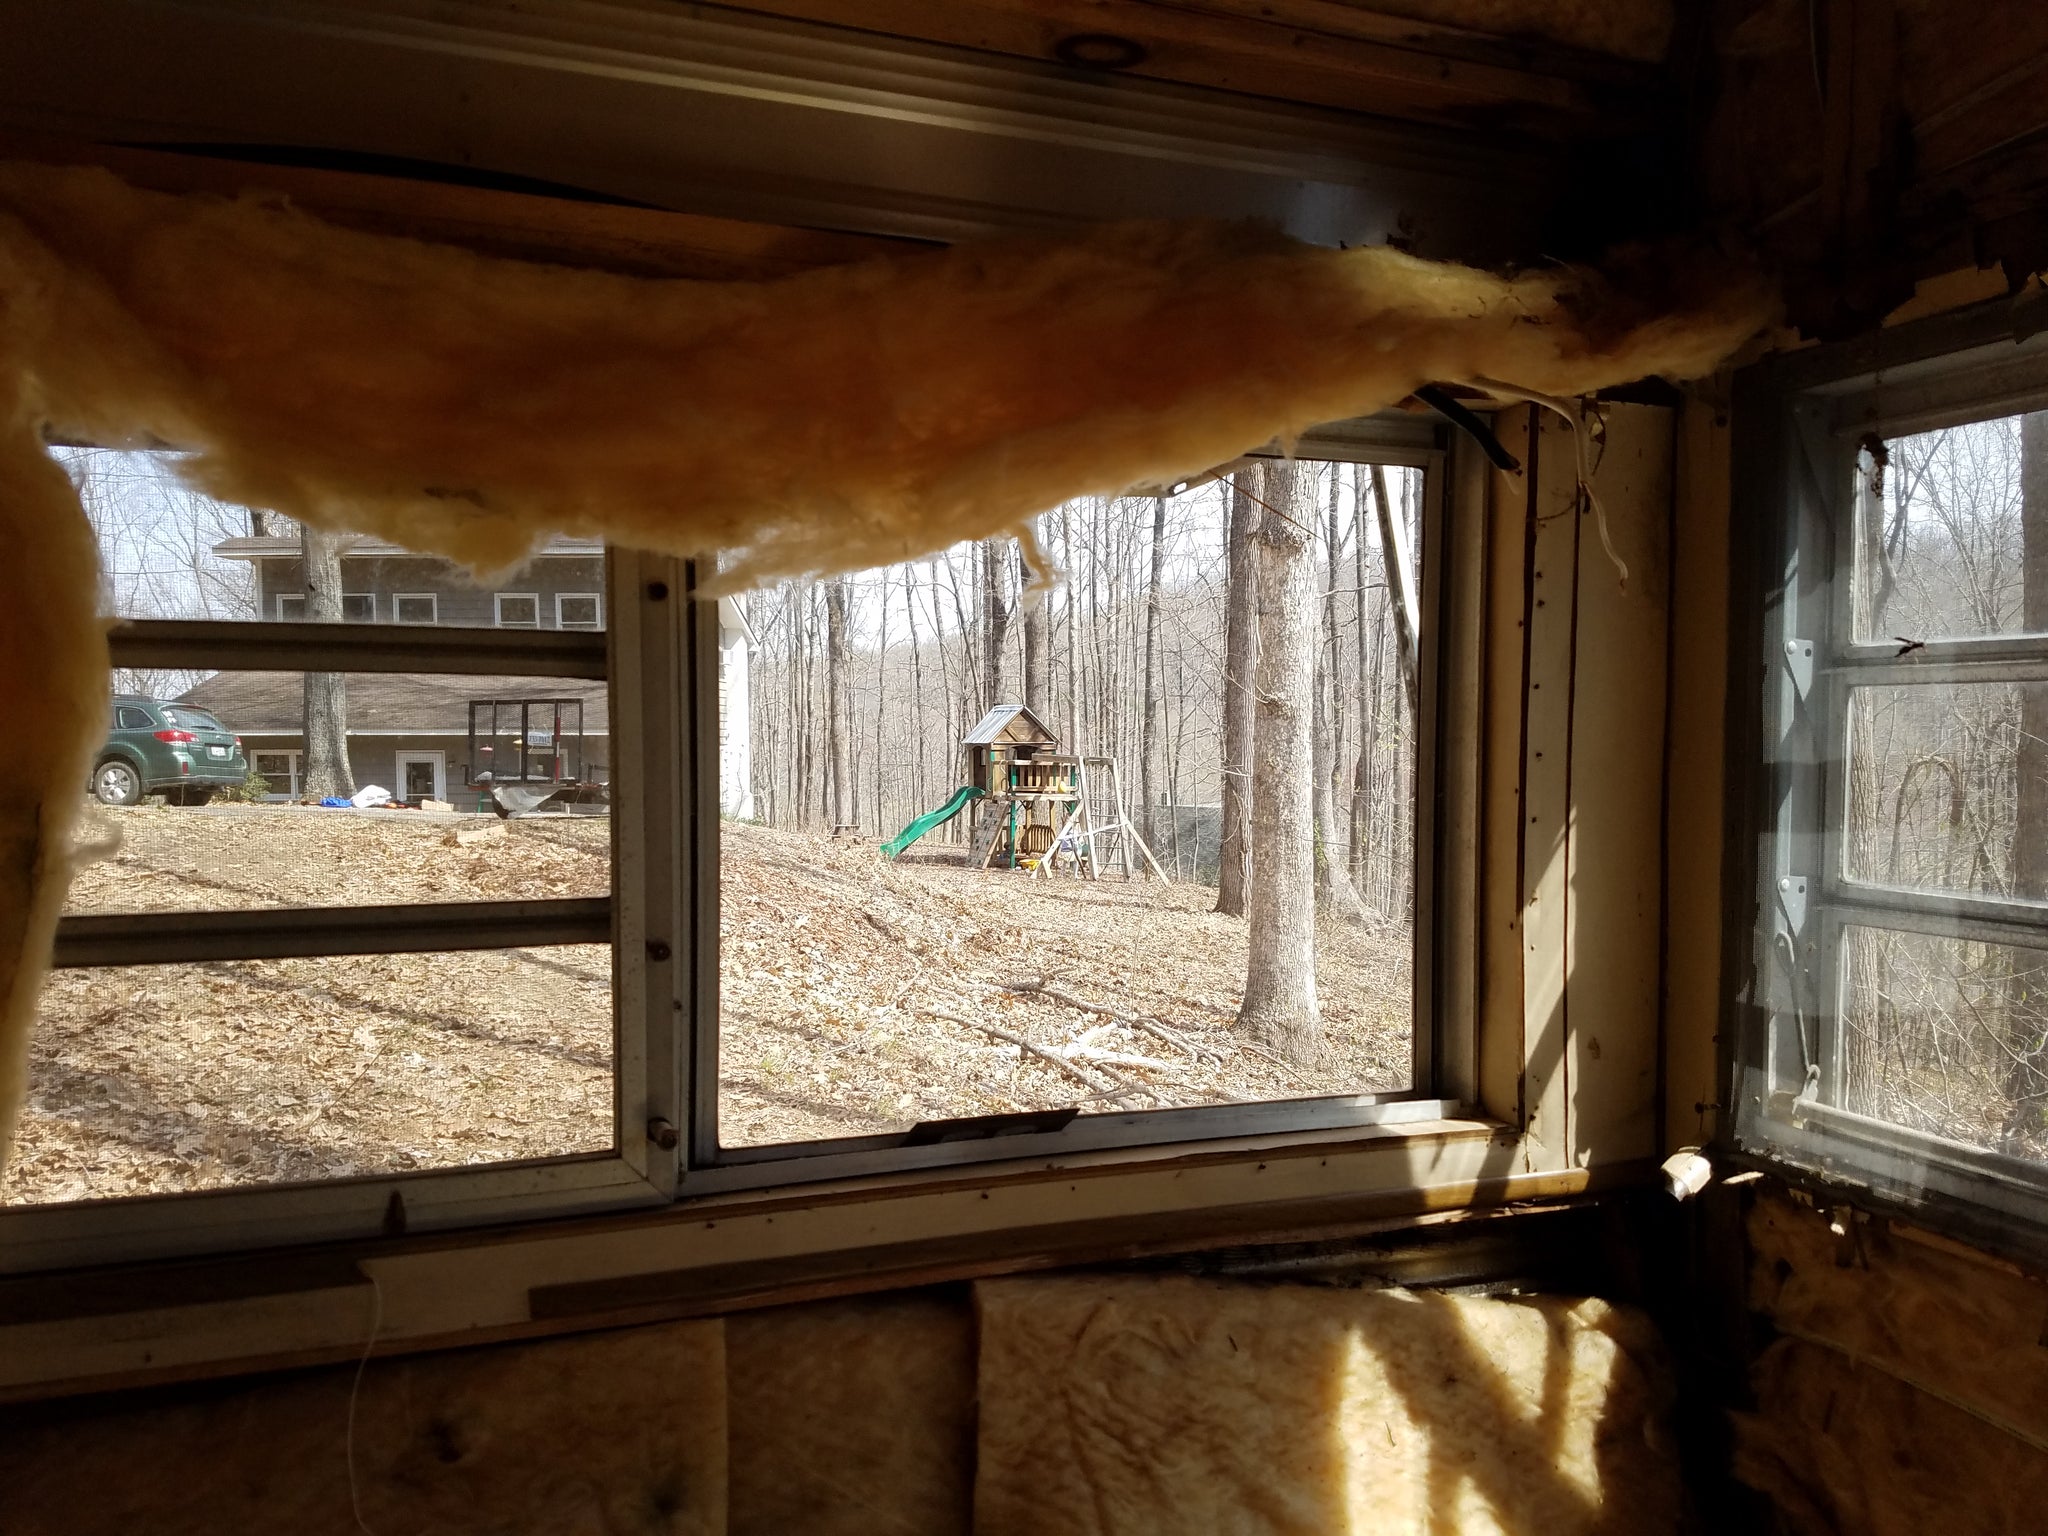
You know how I was calling this process 'deconstruction' before? Well, that went out the window! I had hoped to salvage the walls and certainly the ceiling, but upon tearing out the rest of the cabinets, interior walls, and bathroom fixtures, we realized that we were going to need to replace the paneling on the walls and ceiling. And once we opened those up, we found numerous small leaks around the windows, and significant water damage at the back where the camper juts out a bit. The framing literally disintegrated when I touched the wood. This means we'll be re-framing the rear of the camper AND detaching and redoing the corner j-rail and all windows and lights to avoid future leaks. A LOT more work than I'd hoped for, but I went into this knowing this sort of thing was a possibility. So, let's take a peek at the demolition!
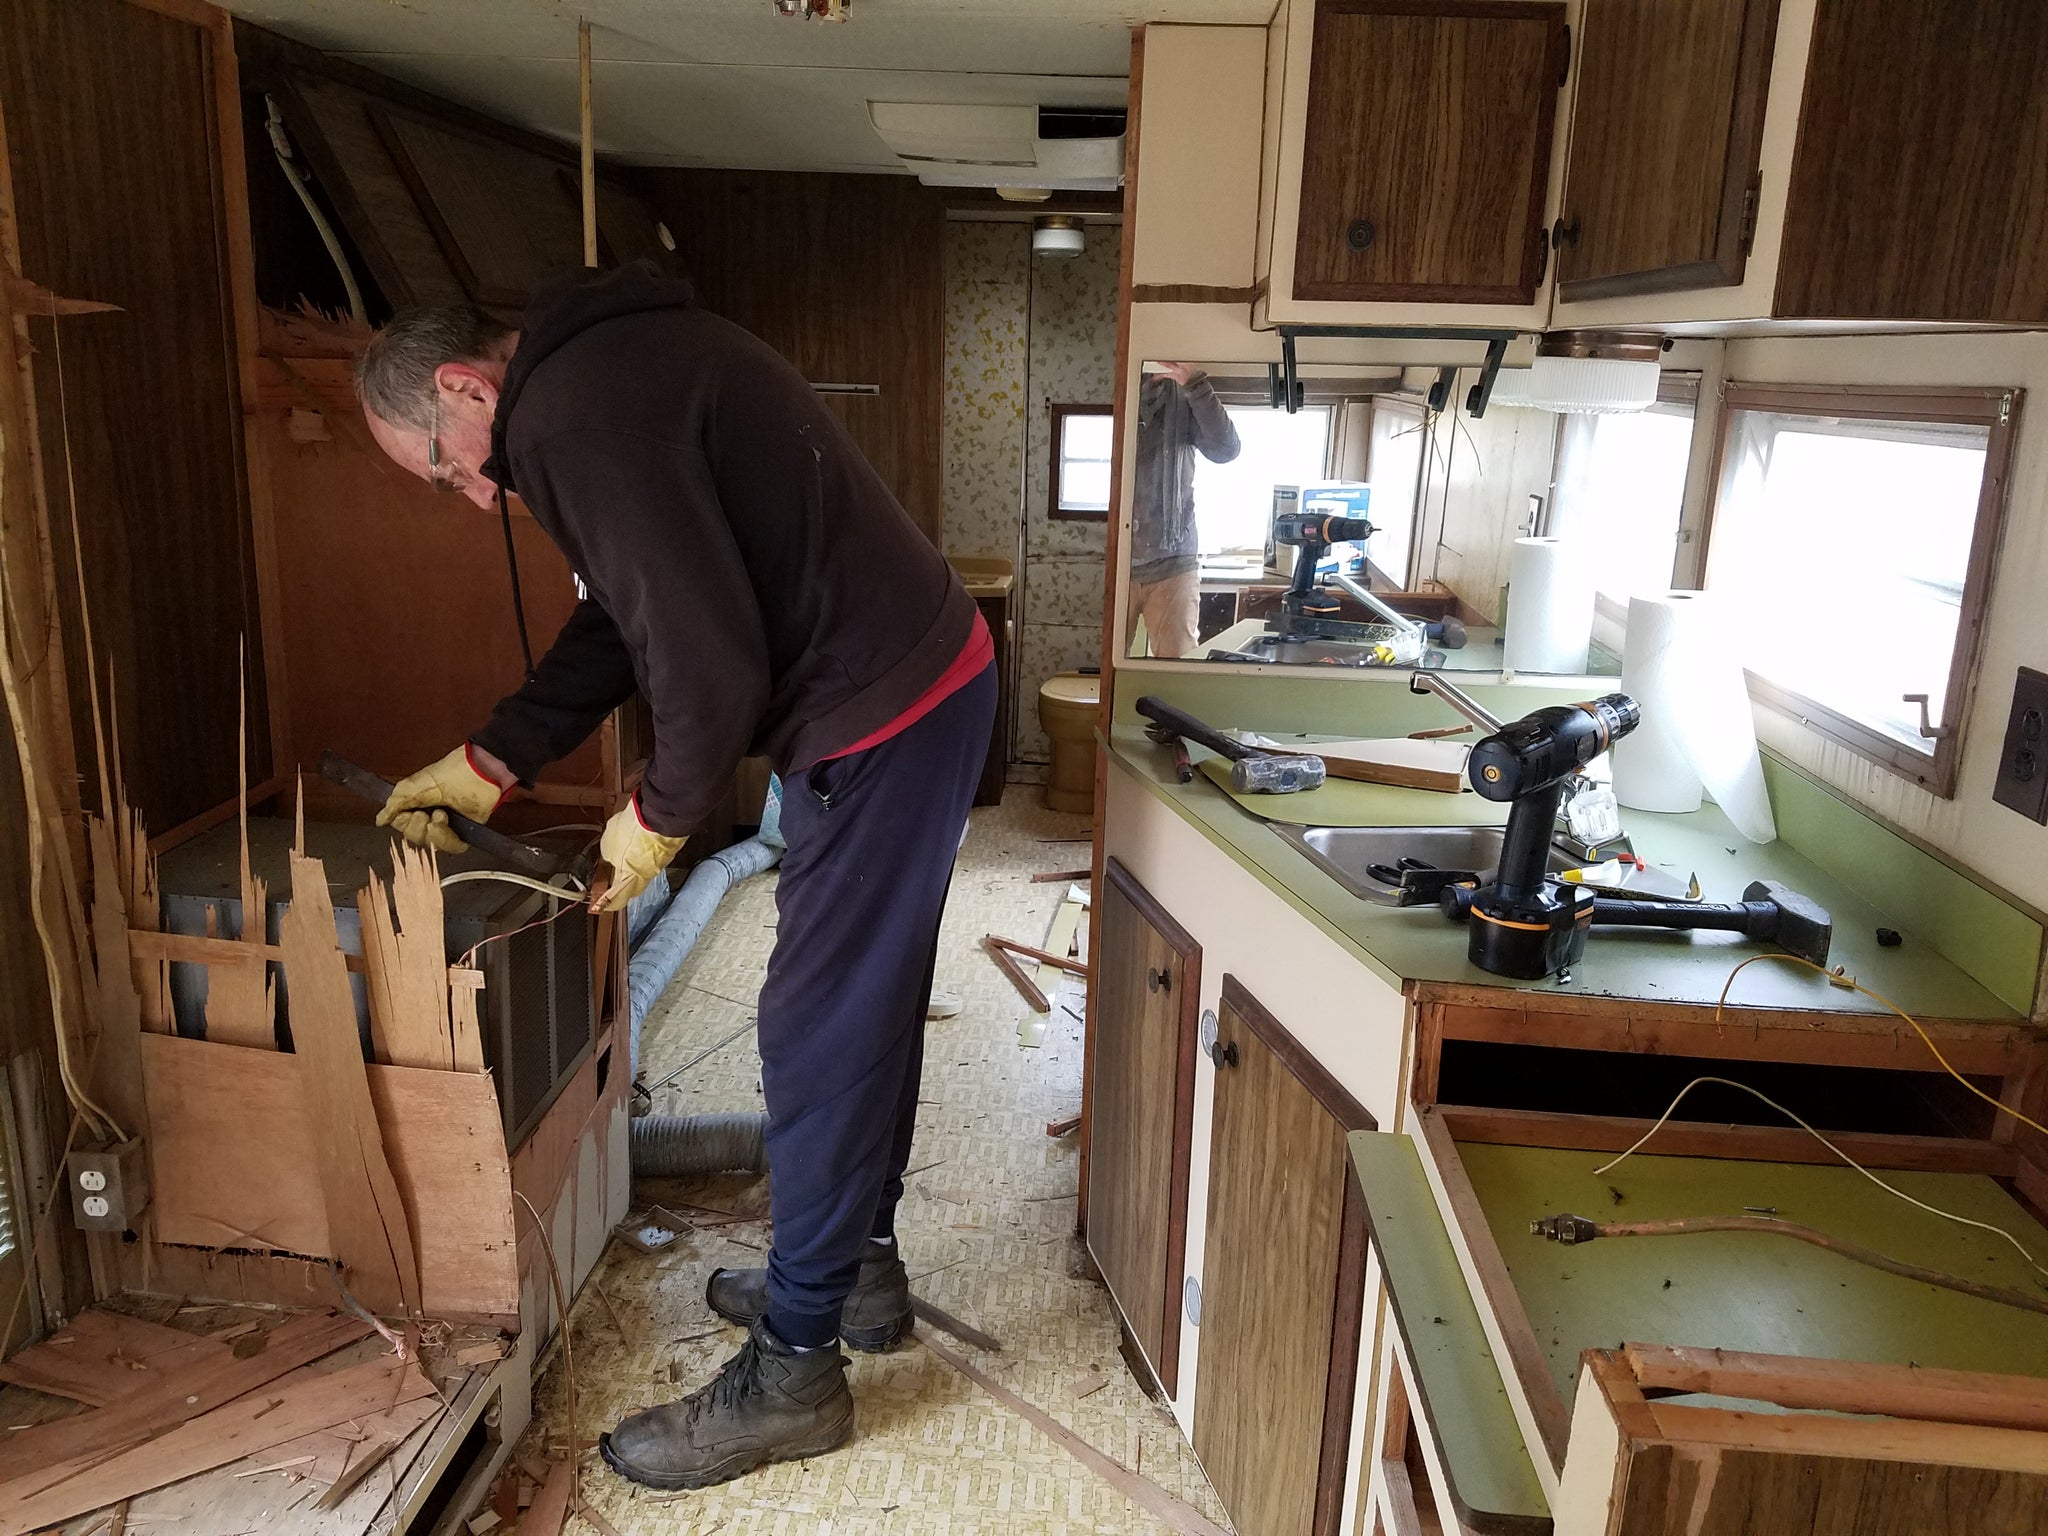
My father-in-law was a huge help in the major demolition. It's not really fair that I can hammer and pry and tug to no avail and he can give something a good whack and it'll come off. And I'm not wimpy, either! Oh well! I'm very grateful for his assistance!
We thought we'd finished most of the demo here..
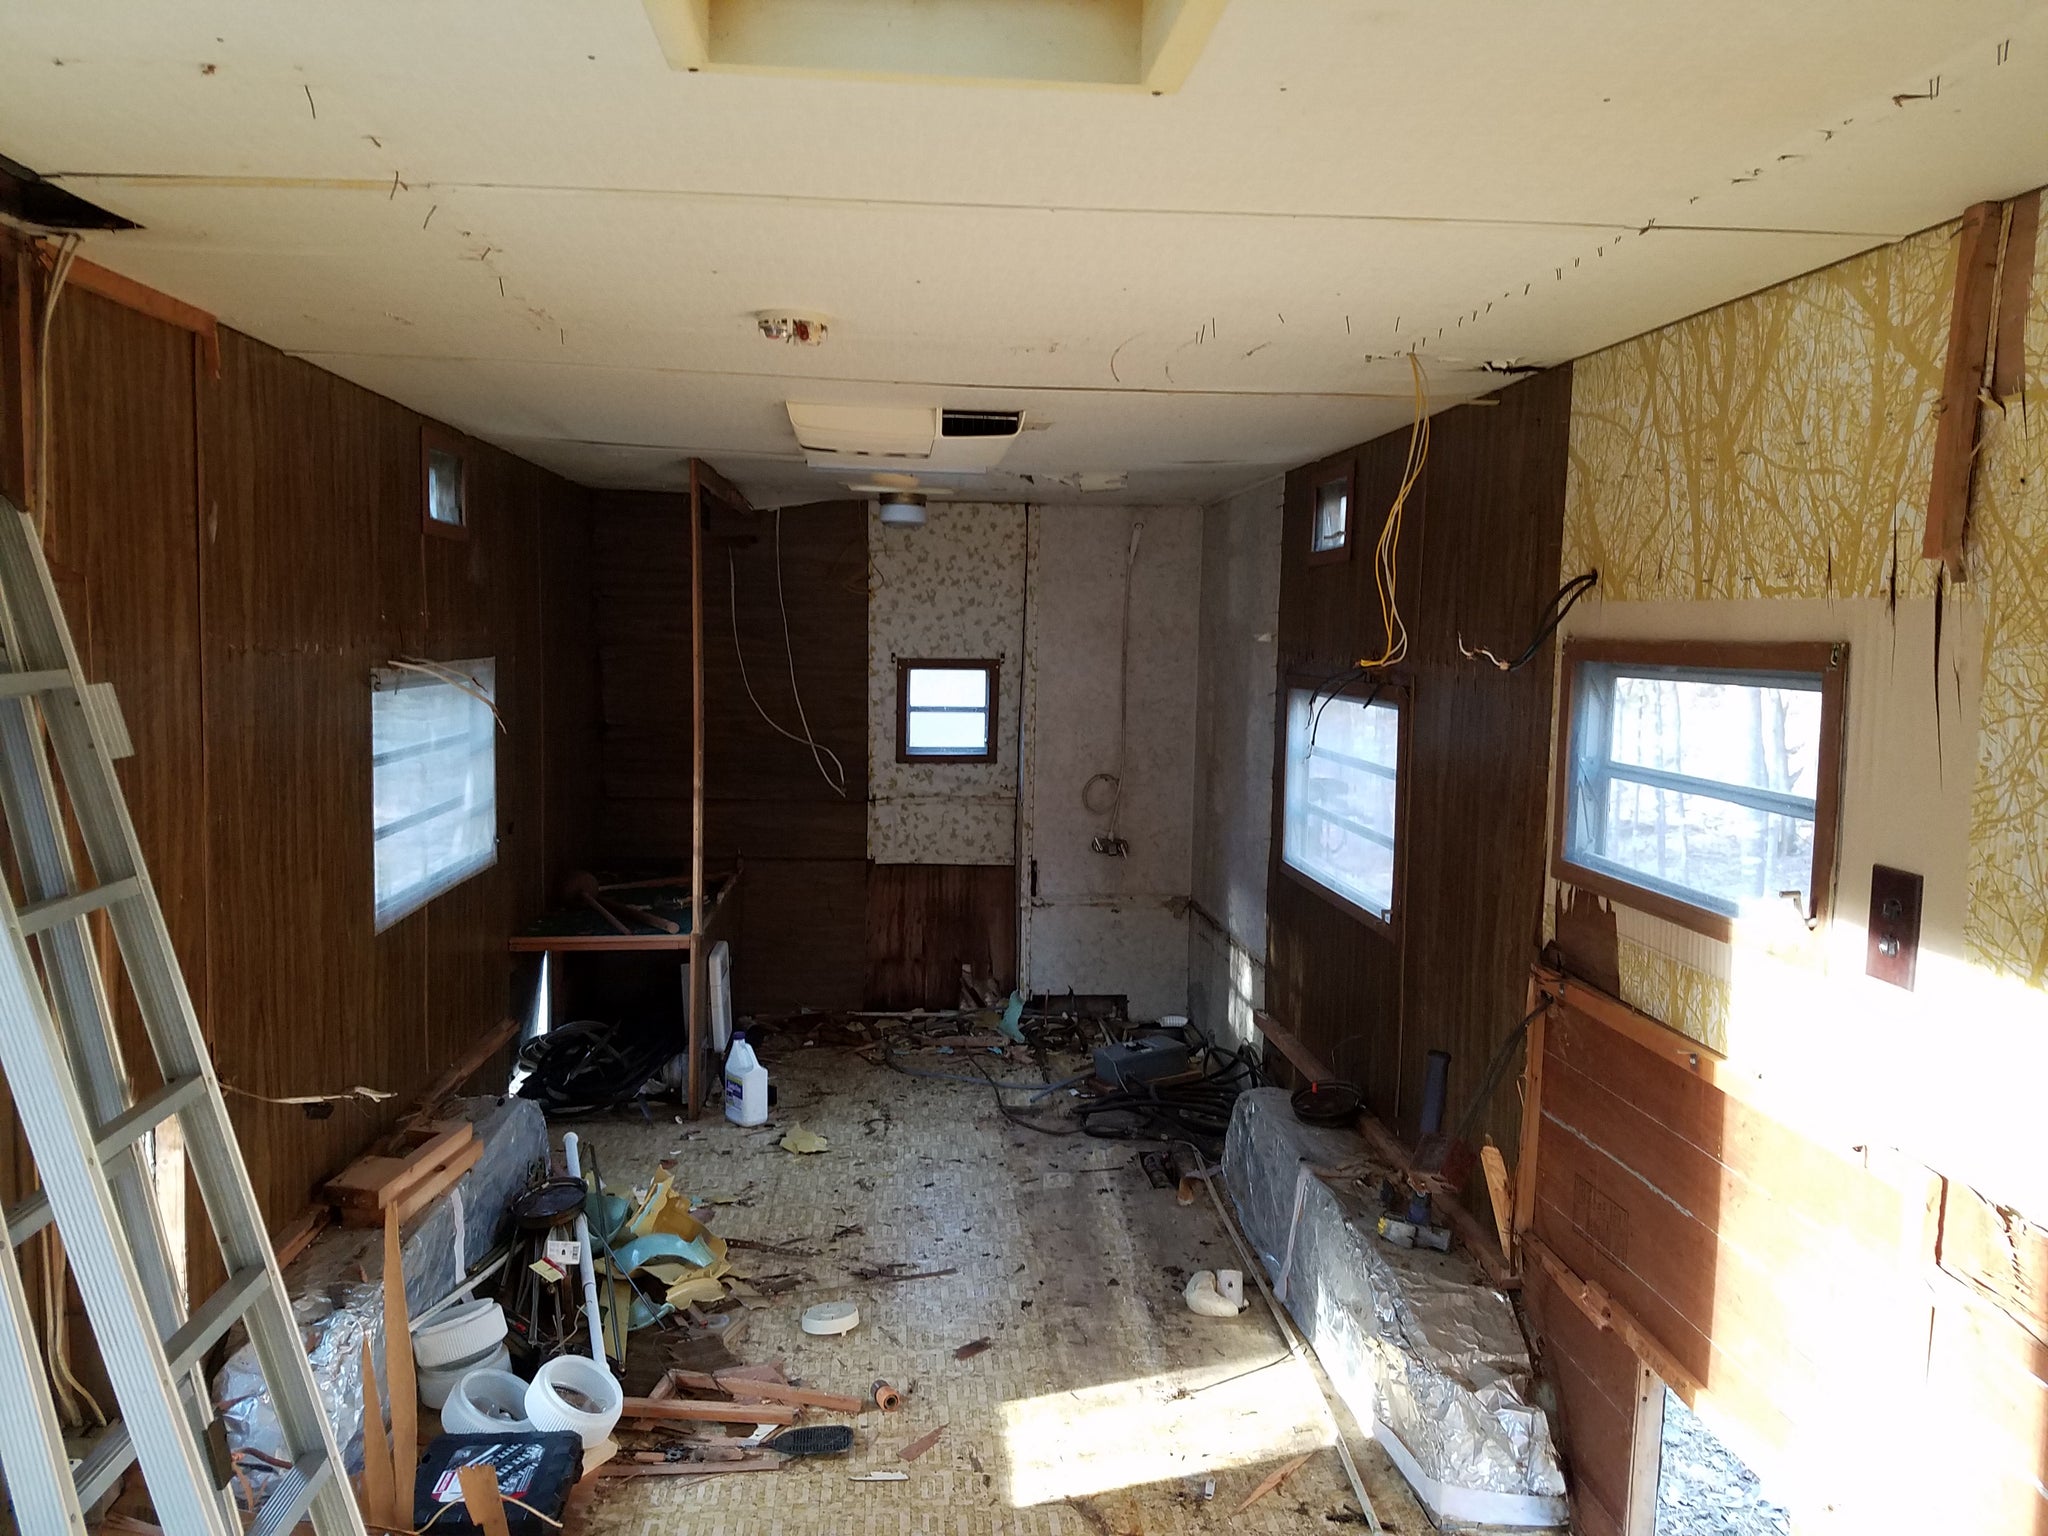
Till we found...
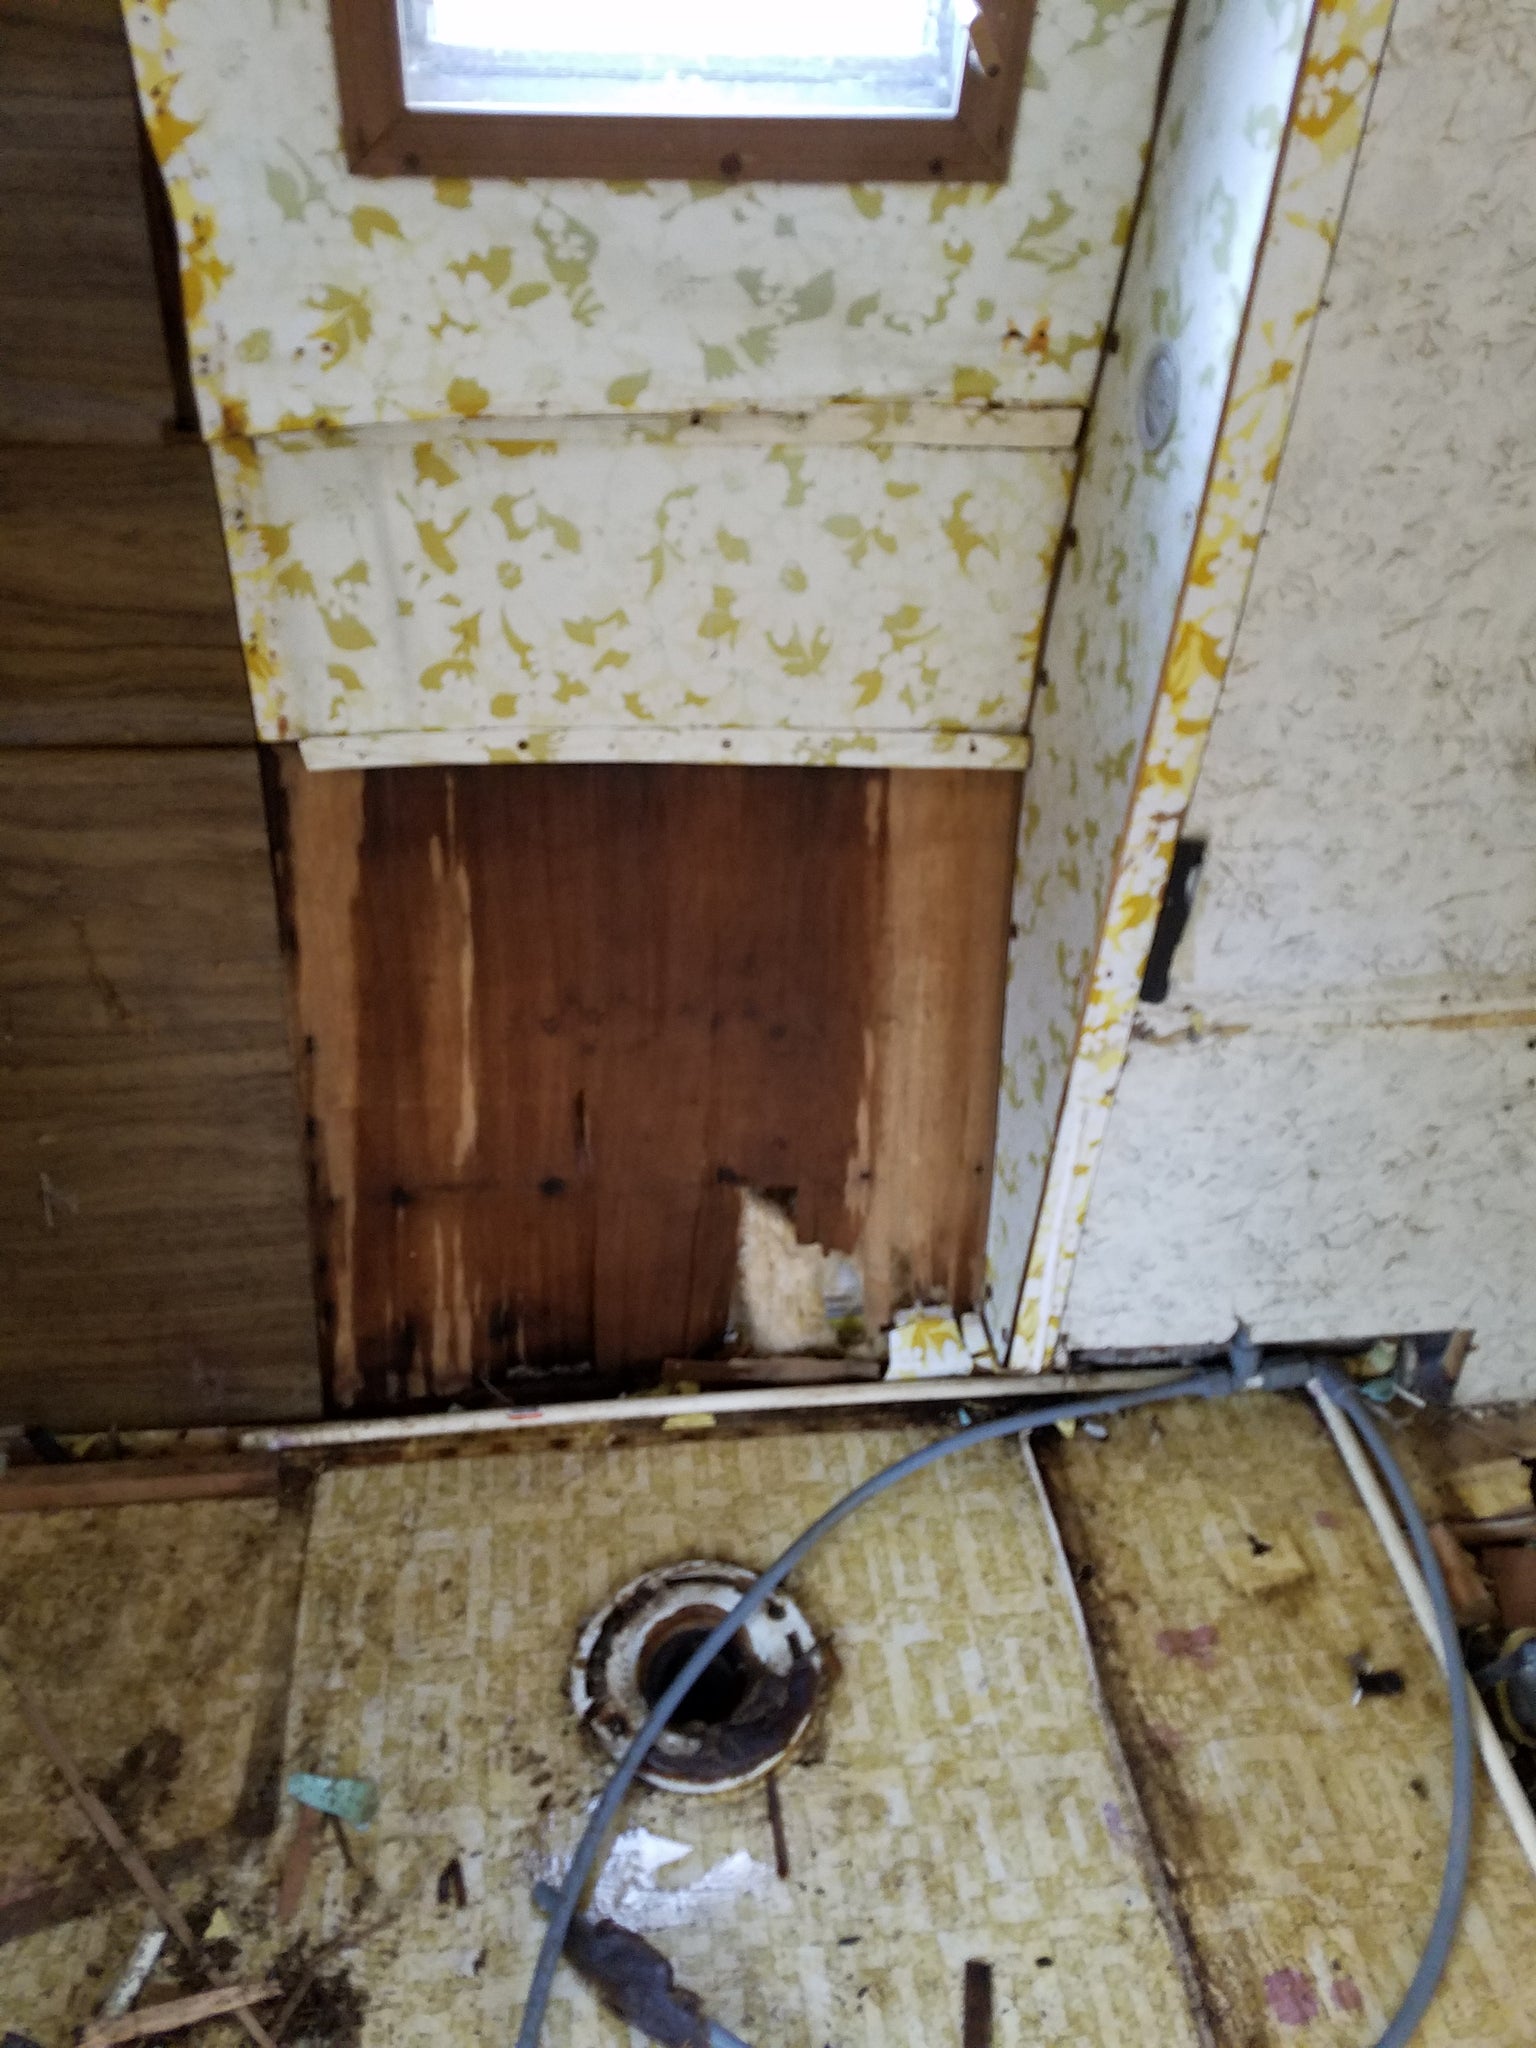
And, even worse...
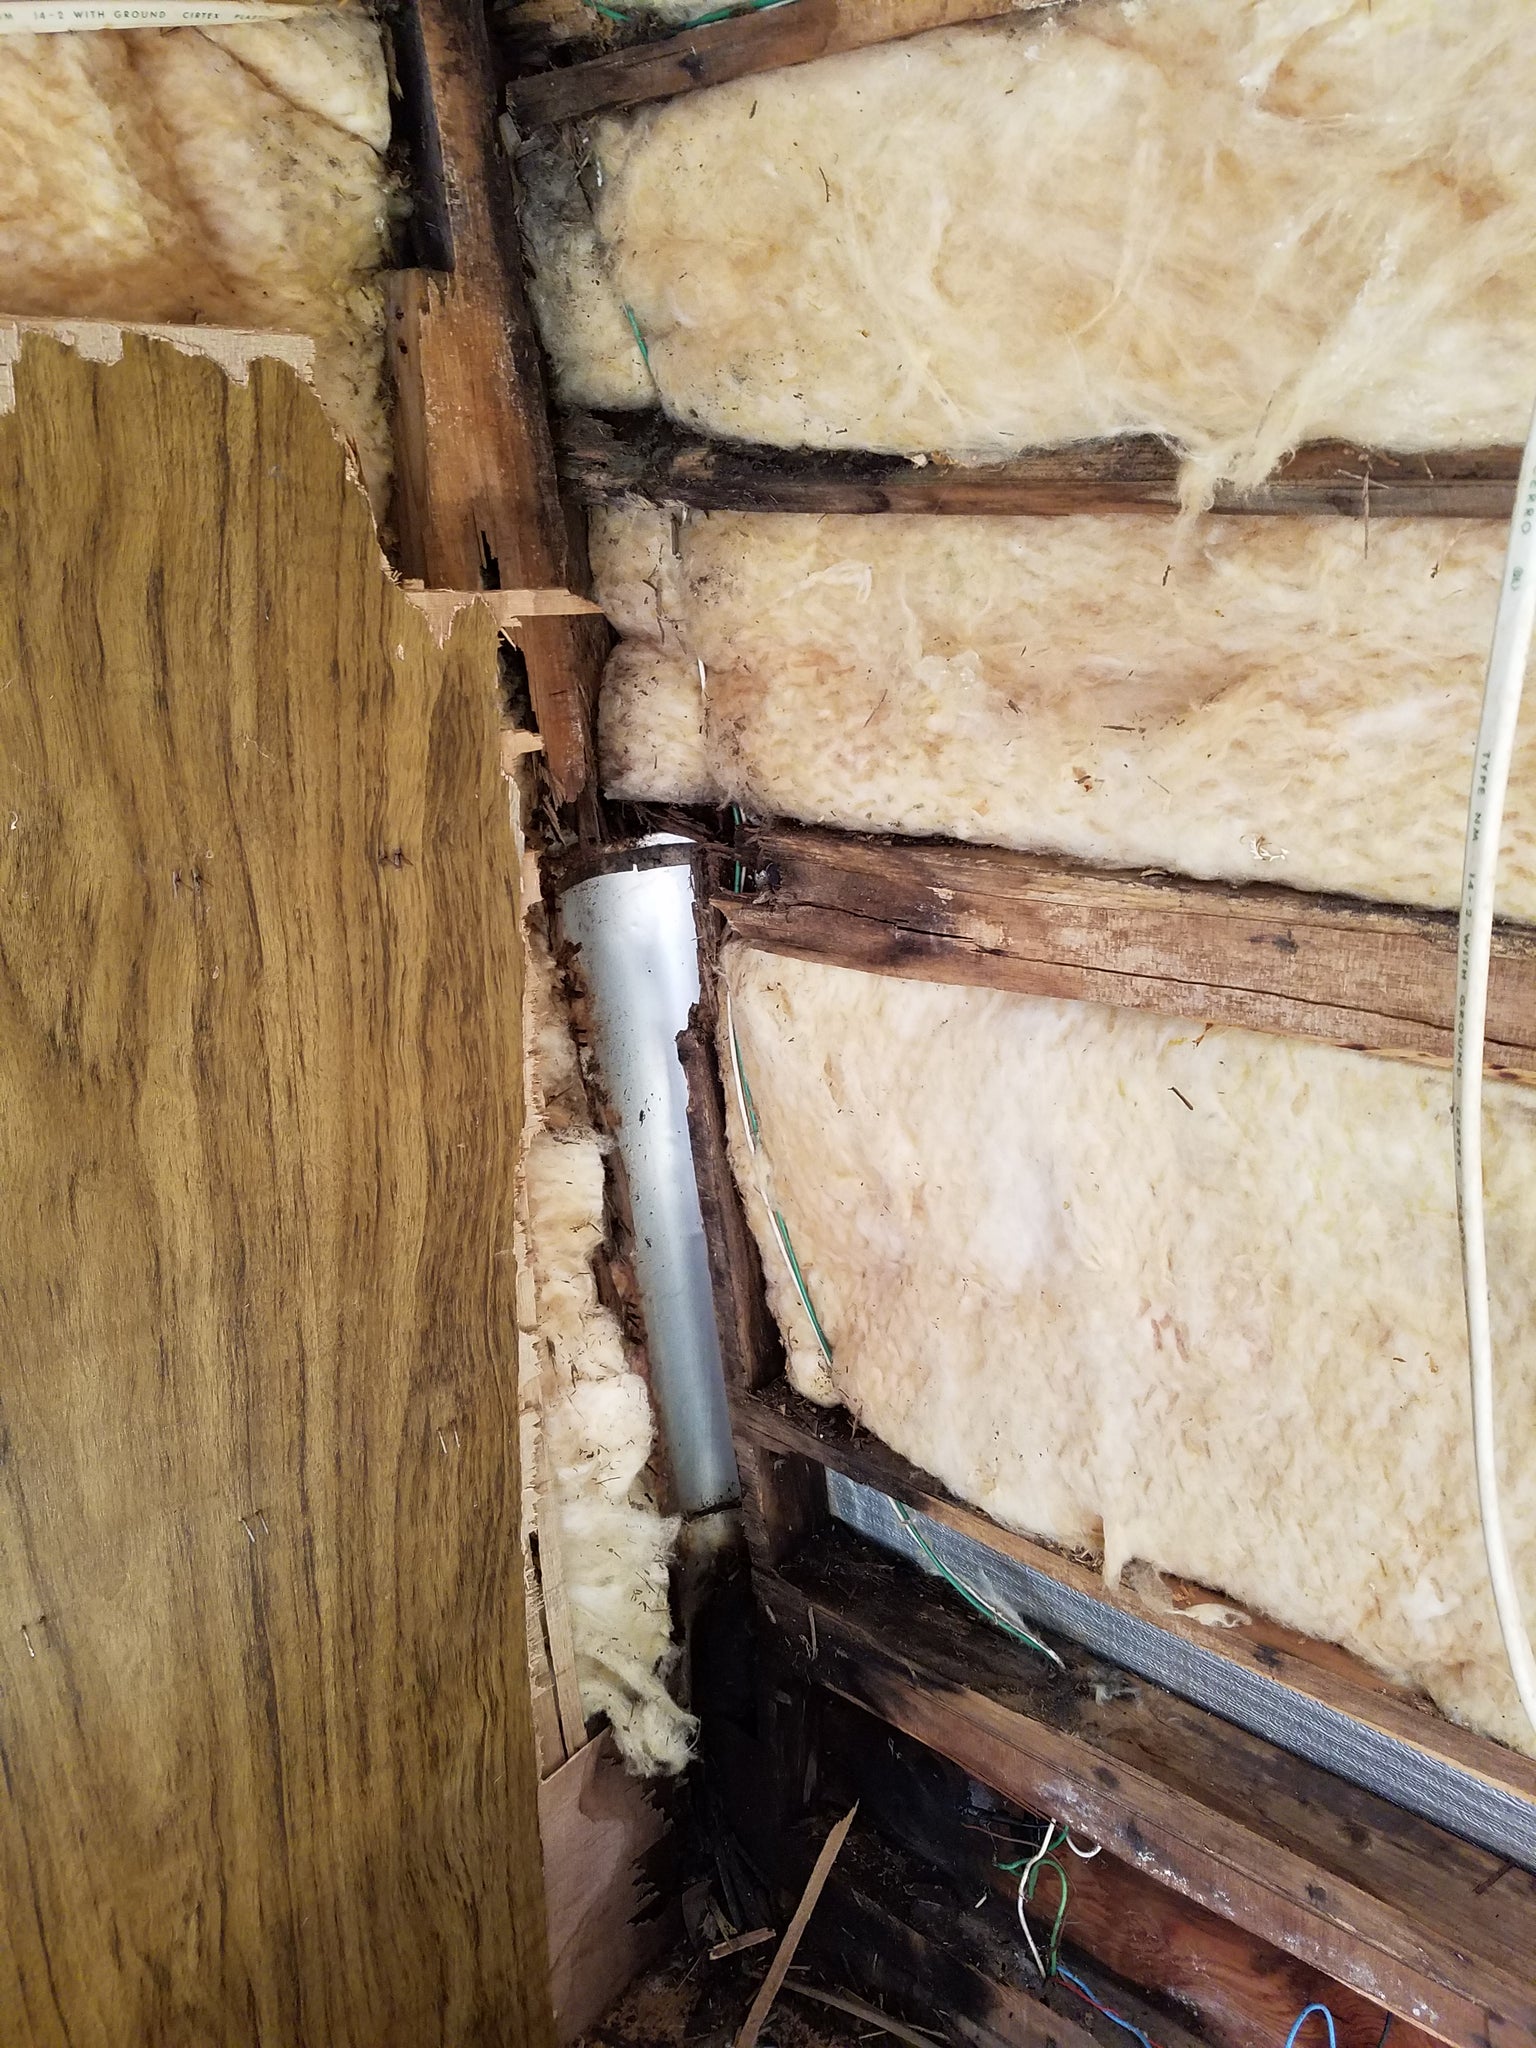
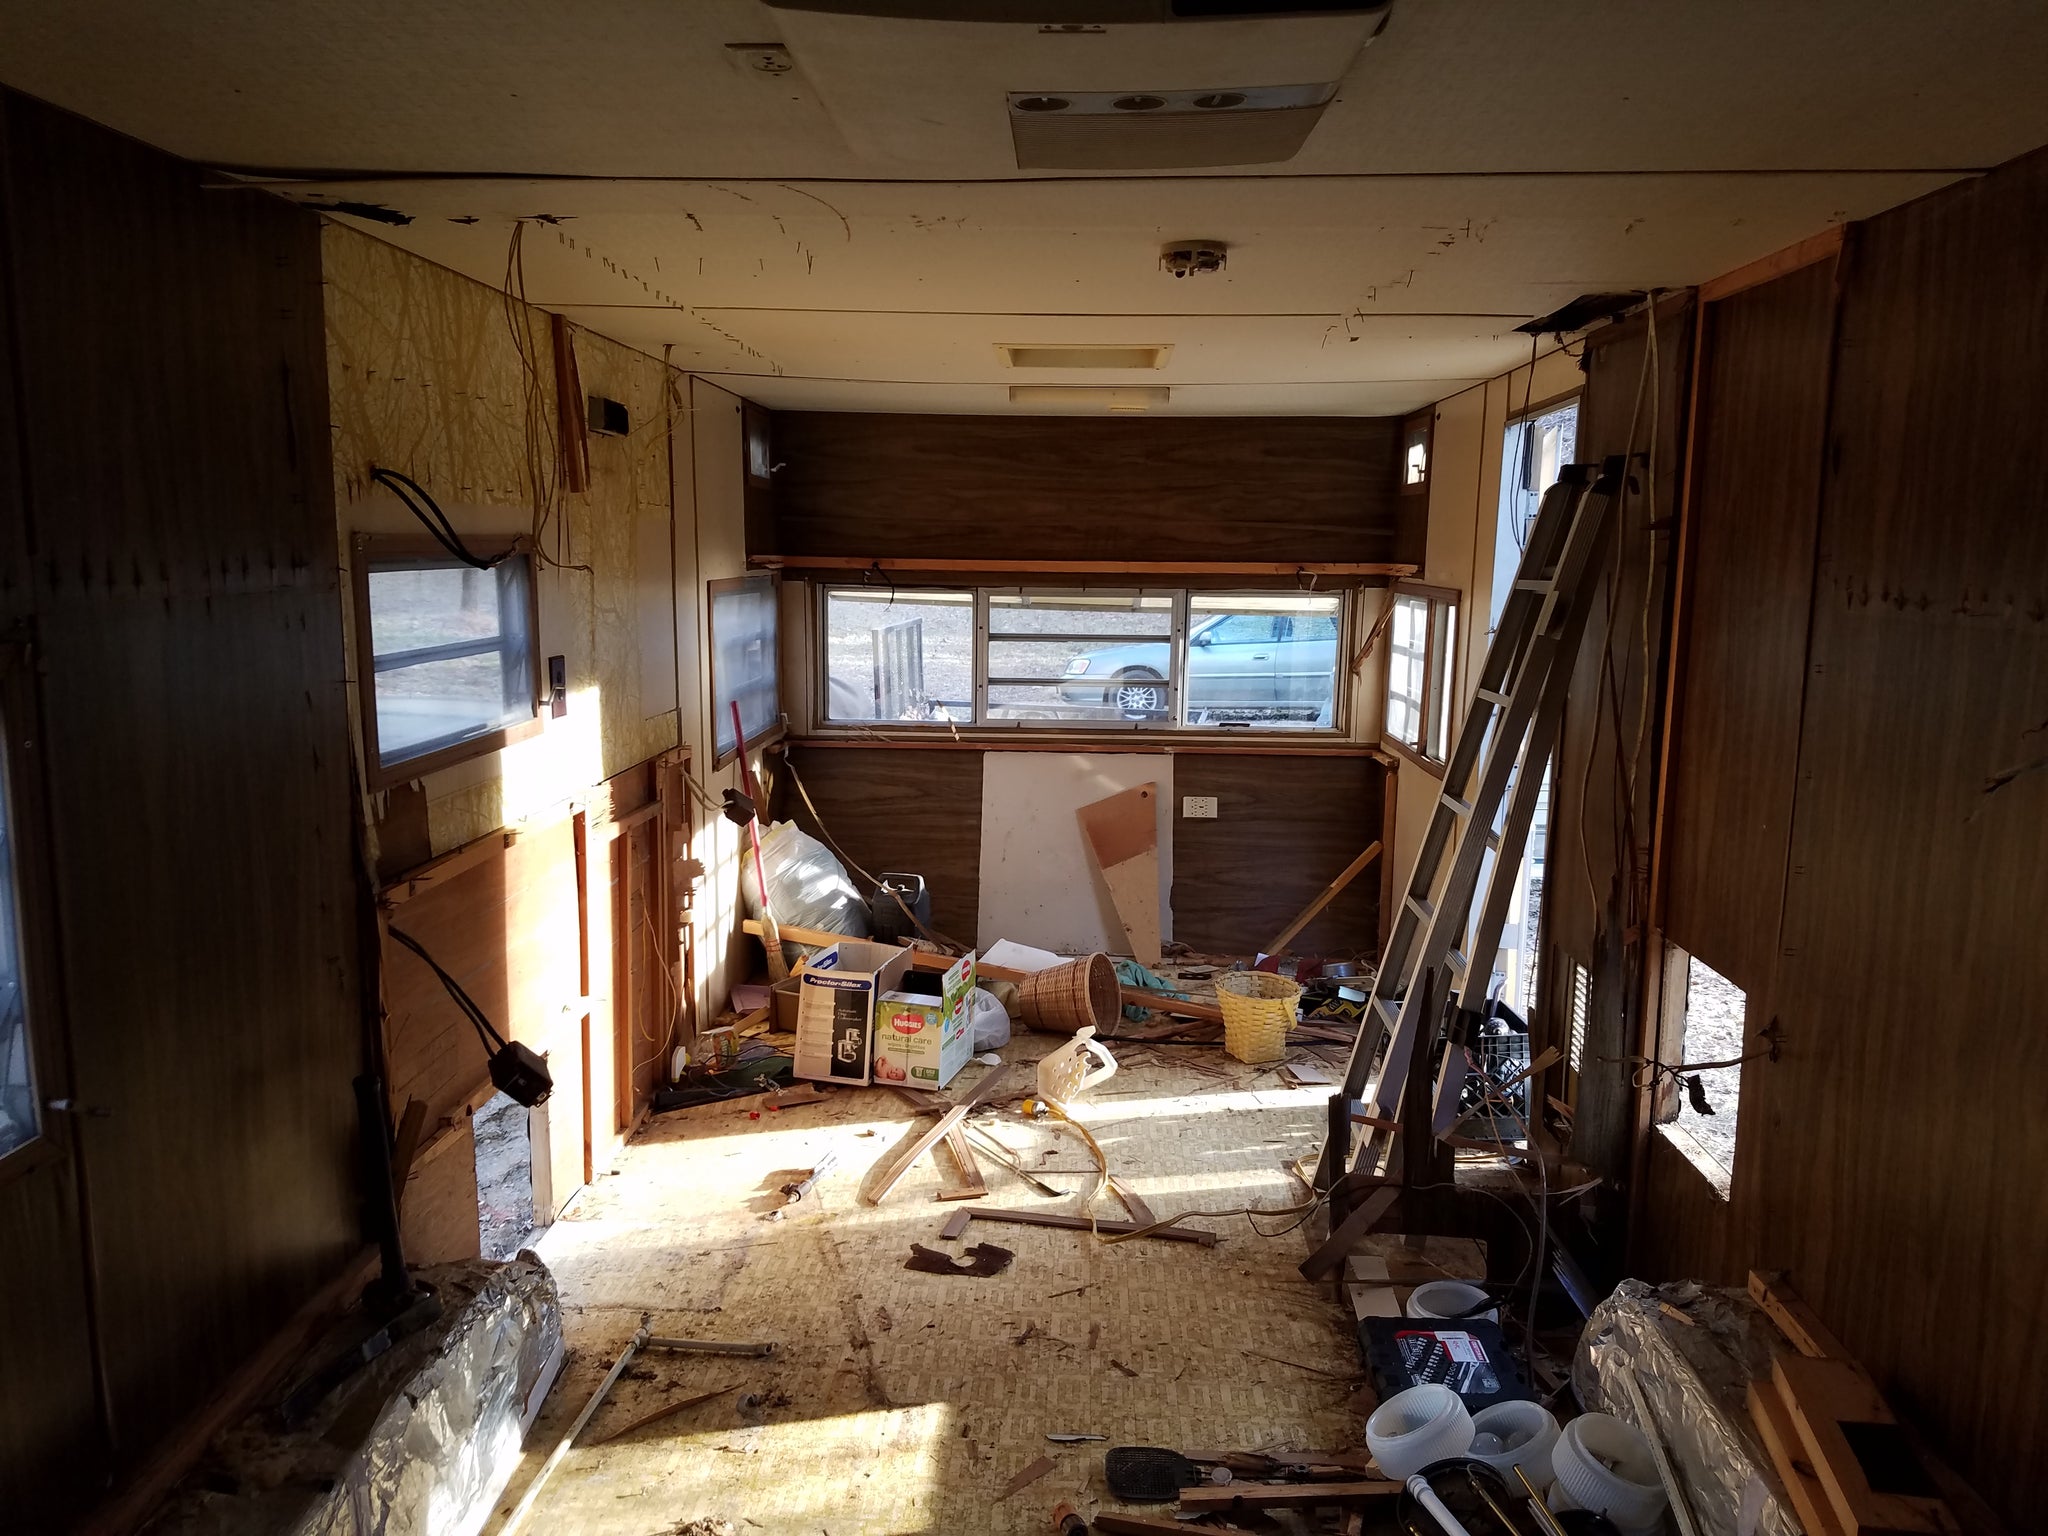
There used to be wood in that corner! These leaks and damage meant that the walls, ceiling and back framing got demolitioned too. (You may notice we kept one wall intact which will get... something really exciting on it :) )

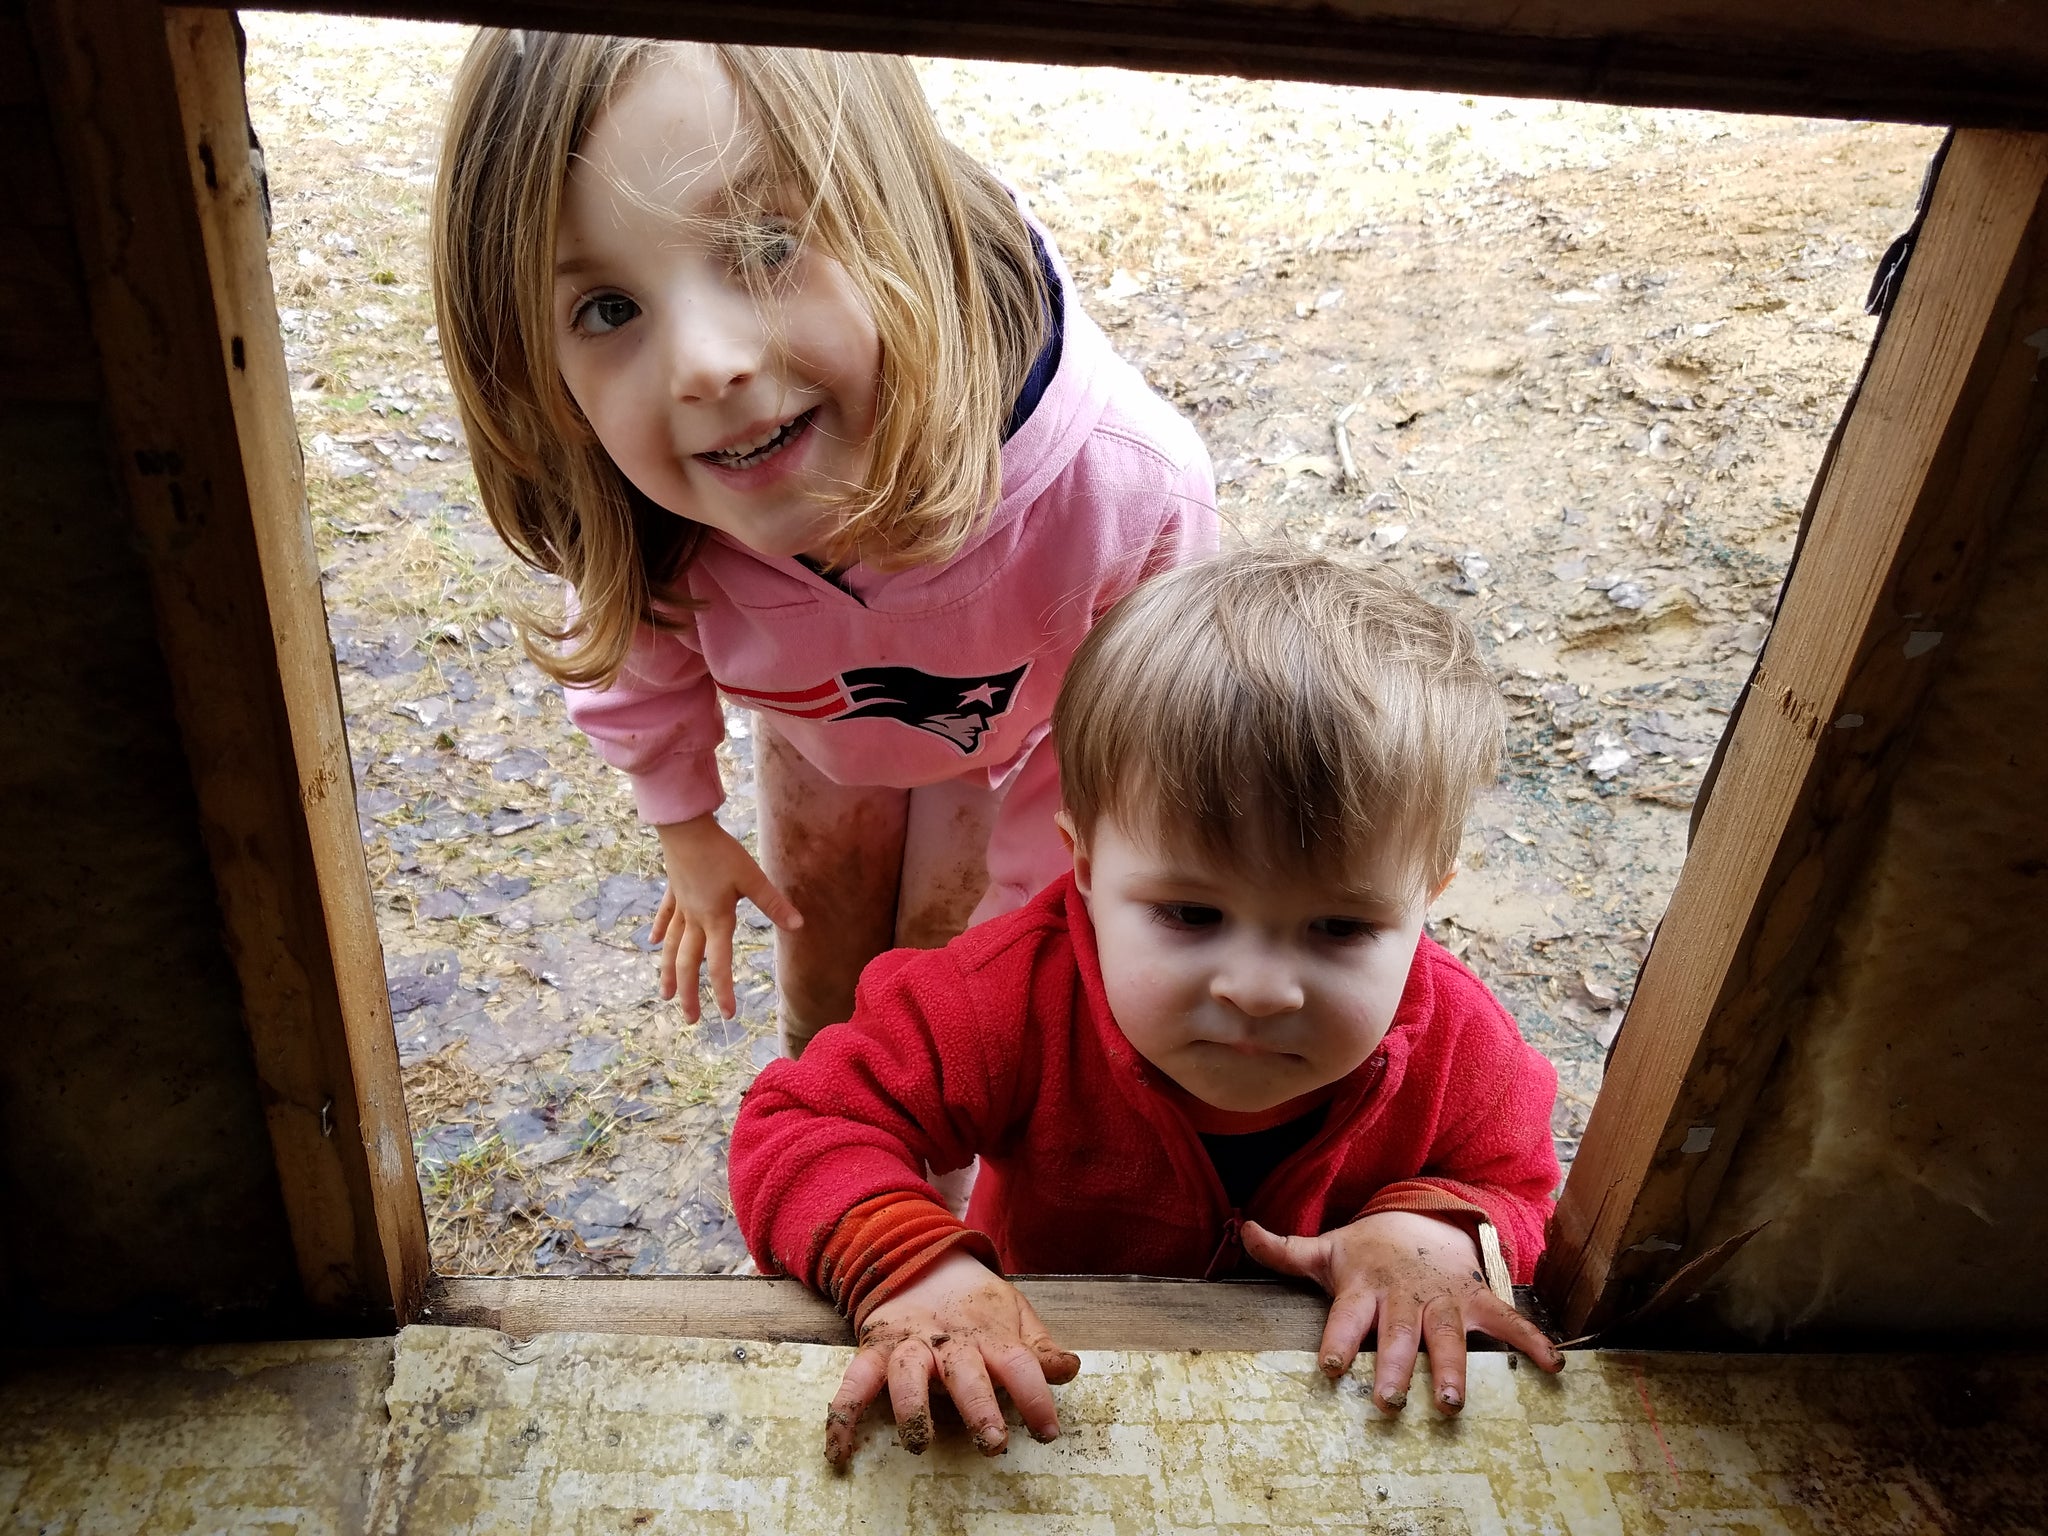
We ended up taking three big trailers full to the dump and a trip to the scrap metal recycling center ($30, not bad!). That demo equated to a lot of time of these kids mucking around outside and, sometimes, amusing themselves in the vehicle.. which is why my console now has green pen scribbles all over it. Sigh.
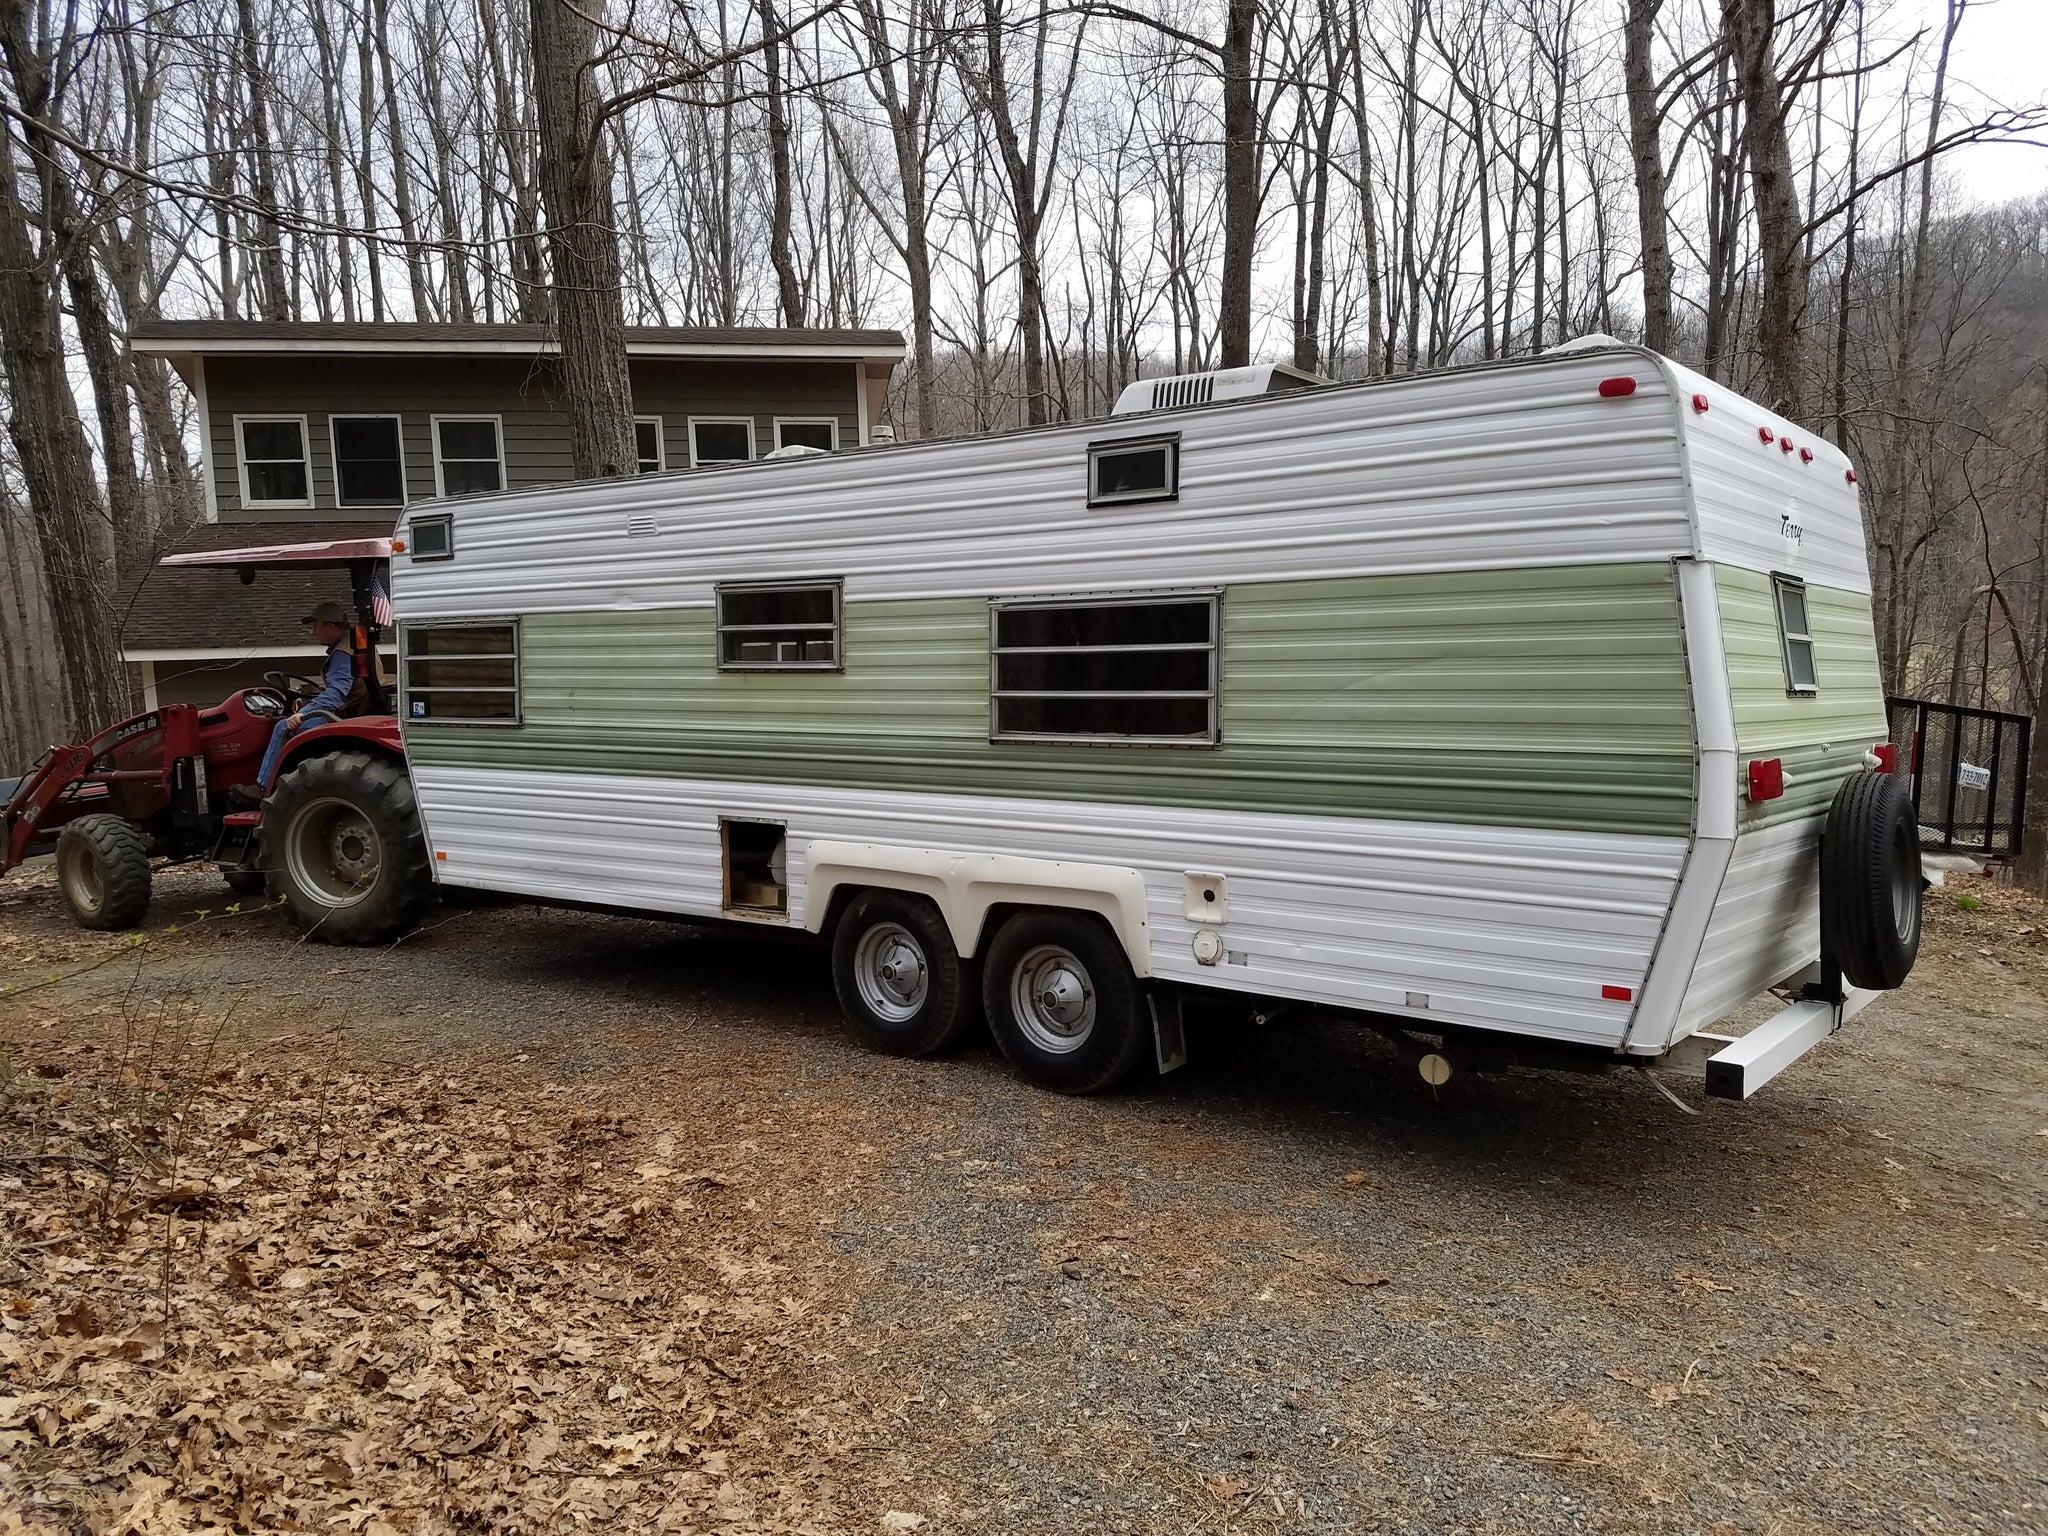
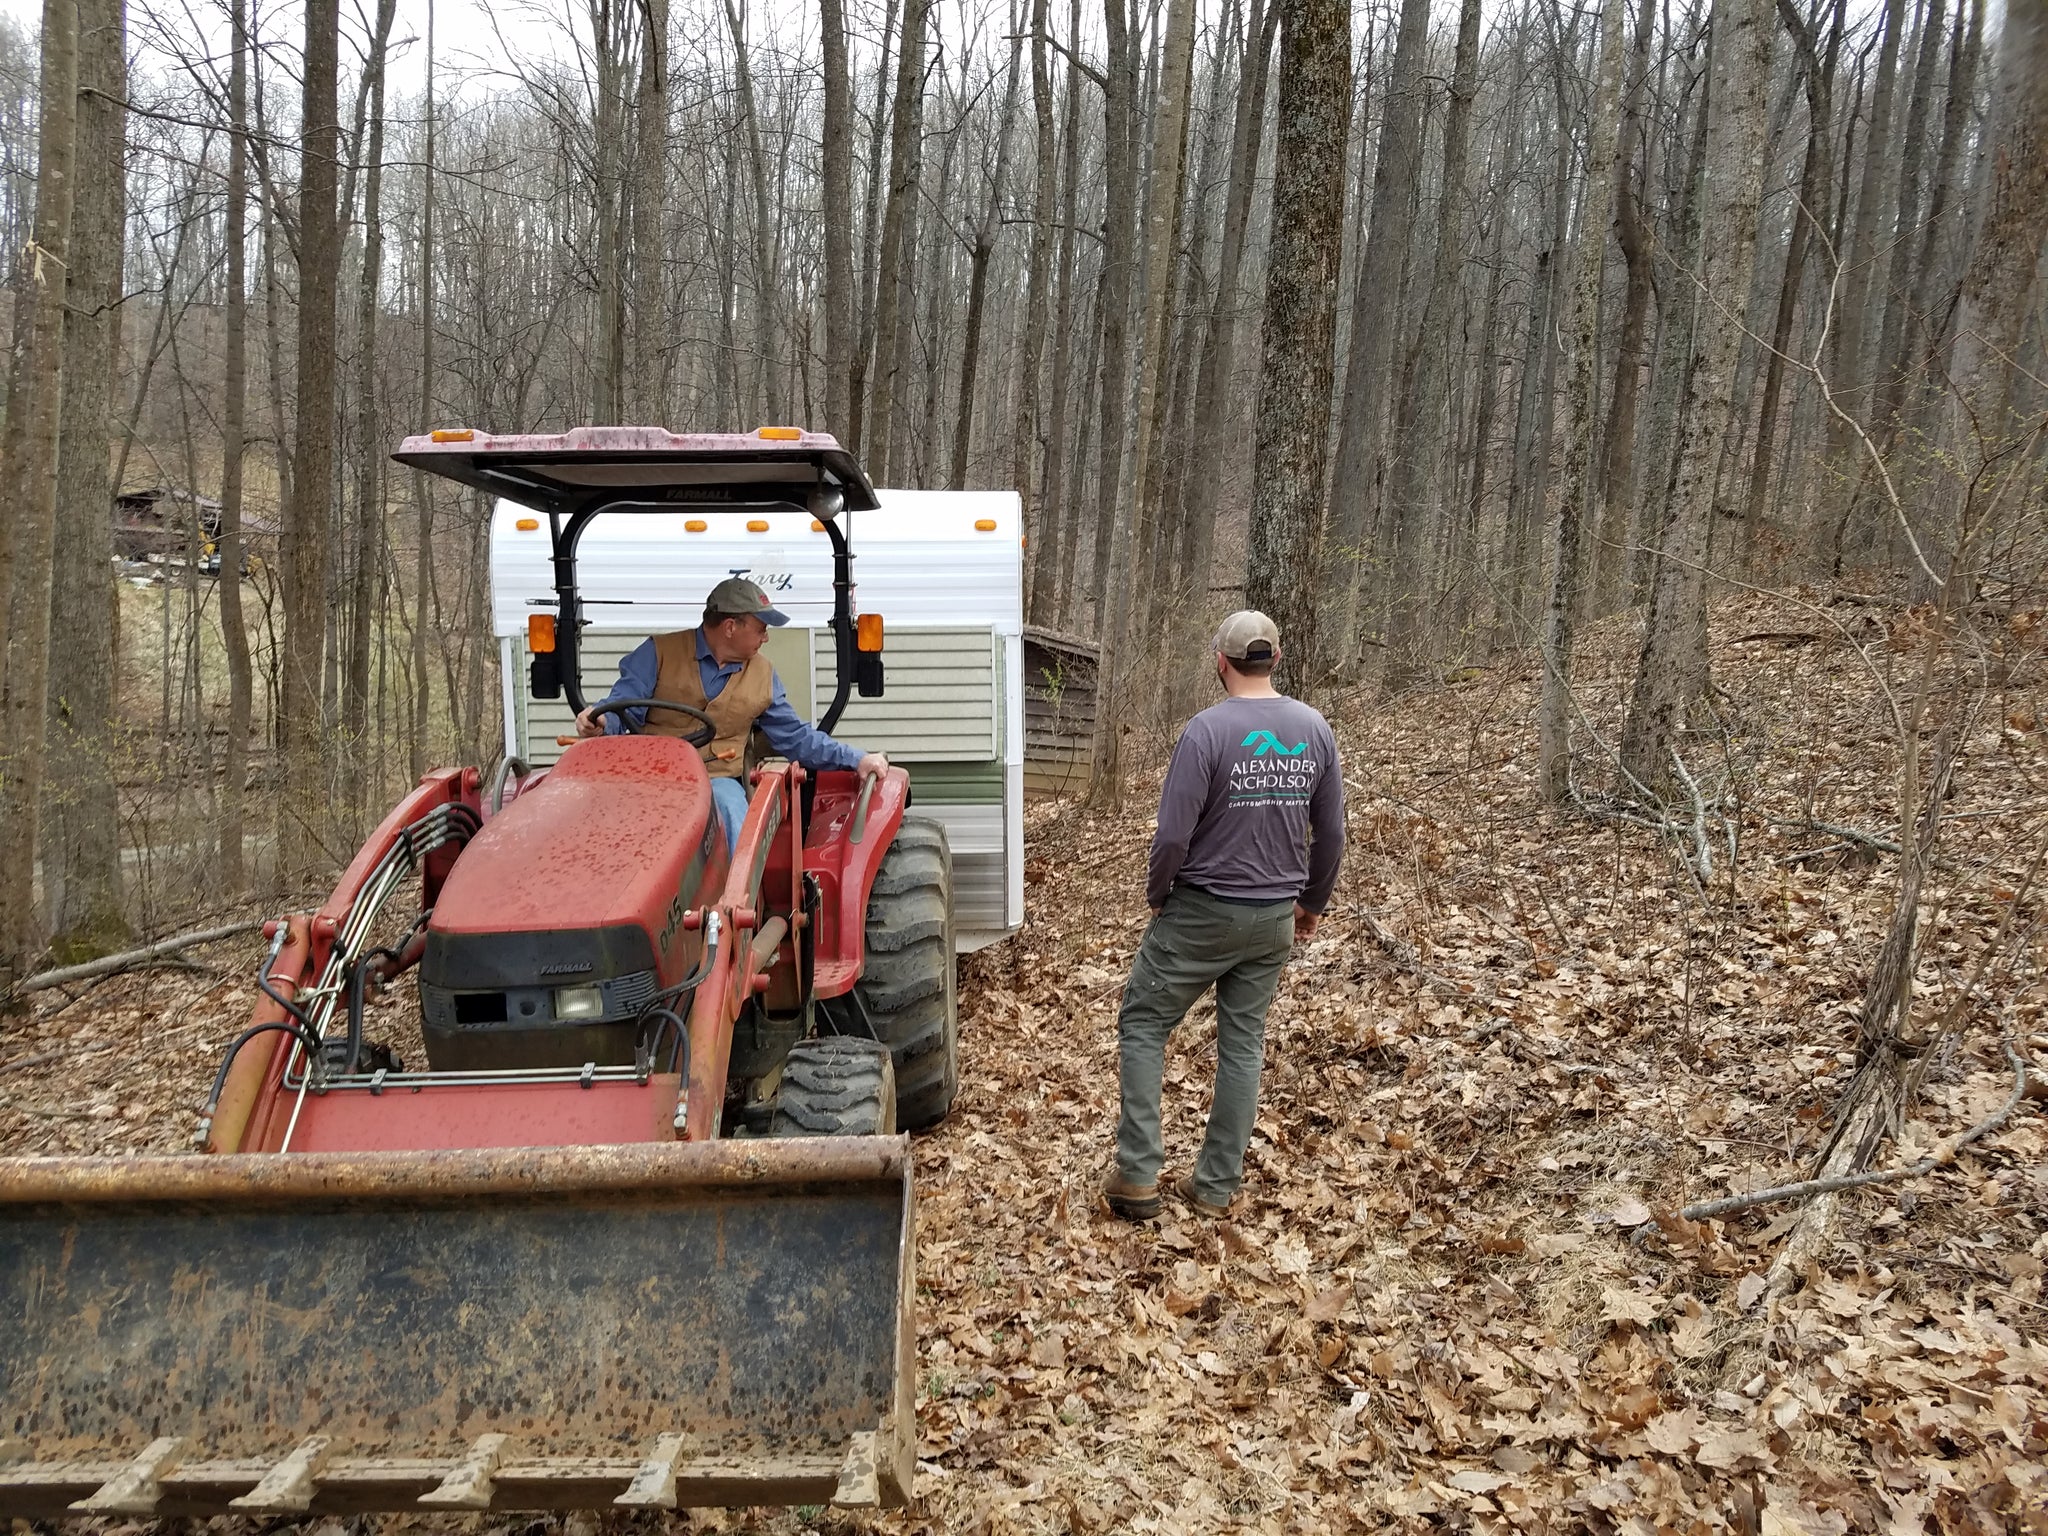
Once we finally got everything cleared out, it was time to get my camper up my .2 mile driveway - and around the hairpin turn on it. MANY thanks to my dad and (remaining) brothers for helping with this. As I've said, this is definitely a family affair.
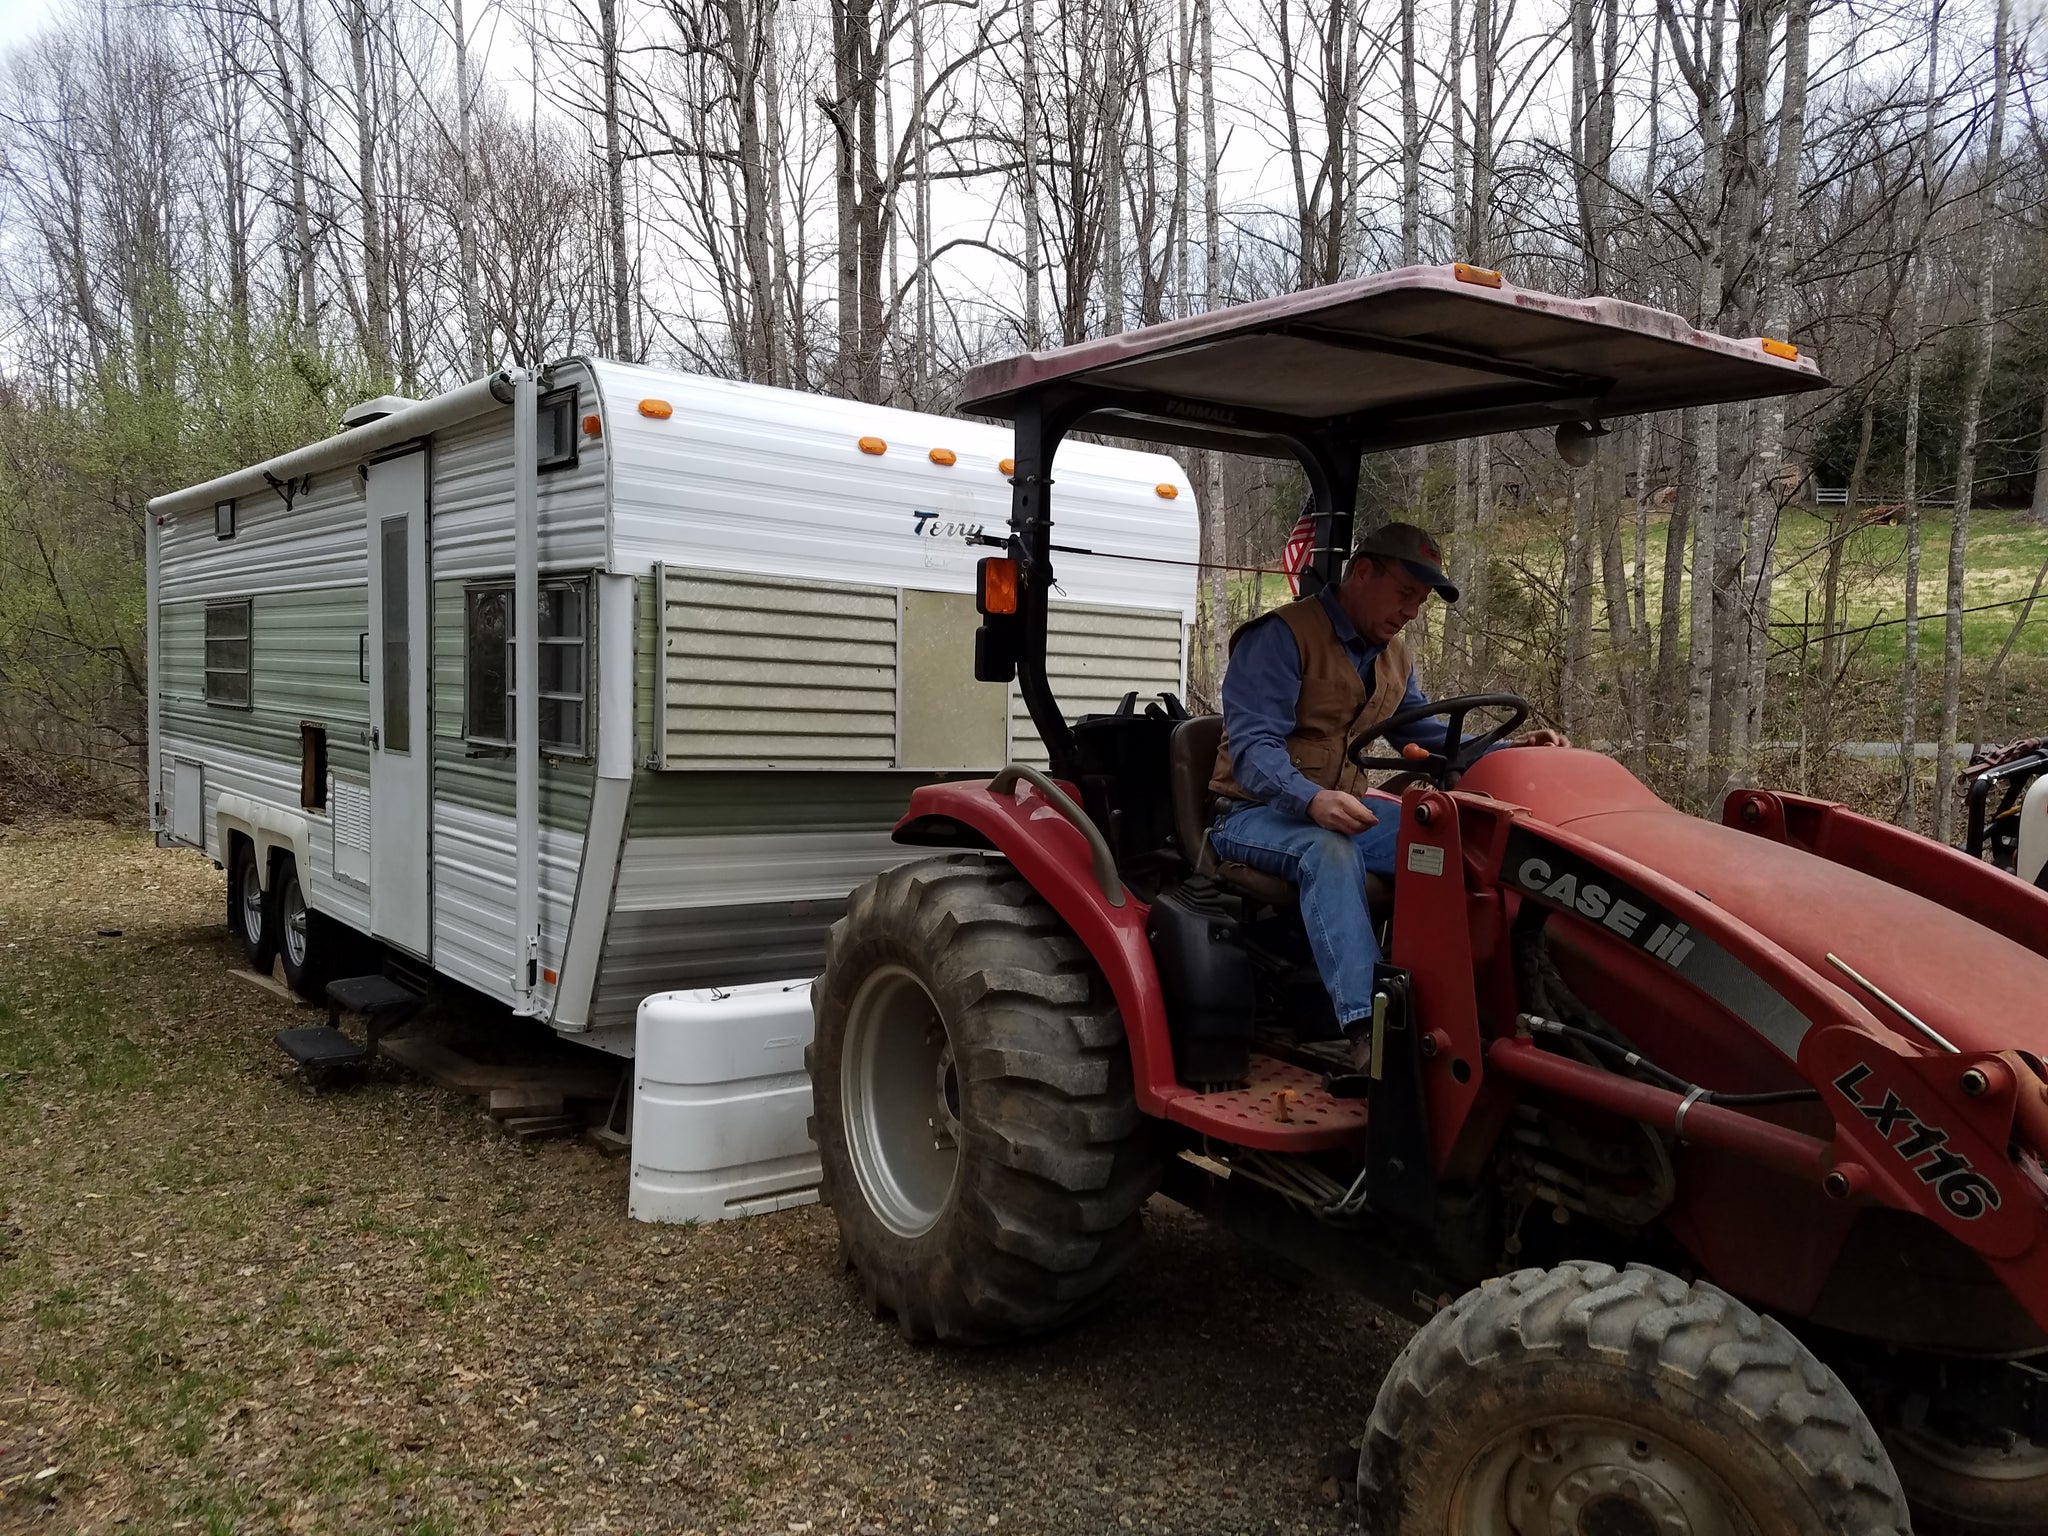
We were relieved that it made it up so easily! With a little road prep, we ended up not having to winch it around the tight curve. Yay!

I had originally planned to put the camper down my steep "yard," but reconsidered right before the move and, instead, put it on a little pull-off from our parking area.
We got it level and raised it enough so the wheels are off the ground using various-sized solid and core cinderblocks ($60 for 16pcs) to stabilize the camper. In the coming months, I'll get a fabric "skirt" to wrap around the bottom, protecting the tires from dry rot and to helping insulate the camper in winter.

This location isn't as picturesque - inside or out. Outside: the camper is more visible from our house, from the driveway, and to the neighbors. Inside: it also doesn't look out into the woods from that lovely bay of windows in the front. However, I'll be able to pull electricity from the well house it sits beside, I won't have to walk as far to get to it (through tall grass.. or have to create a path through the tall grass), and it's now positioned so I can look out on the playground that my kids are really getting good use out of these days. It also was a heck of a lot easier to get in there and should be much easier to get out when/if we move. So, it was the practical option.
As I've said, this has been a family affair and I'm so thankful for all the help I've received and I'm so looking forward to showing everyone how awesome beve headquarters looks once it's done - and to save money on rent - and get more work done more easily!! :D
Next up: the rebuild begins!