
After discovering extensive water damage at the rear of the camper and lots of leaks at windows and lights, we removed, cleaned, re-installed, and re-sealed the front and back trim, all windows, and all lights. Whew! This process has made our renovation take much longer than we'd originally anticipated, but it wouldn't have made sense to make the inside nice and pretty only to get leaked on, right?
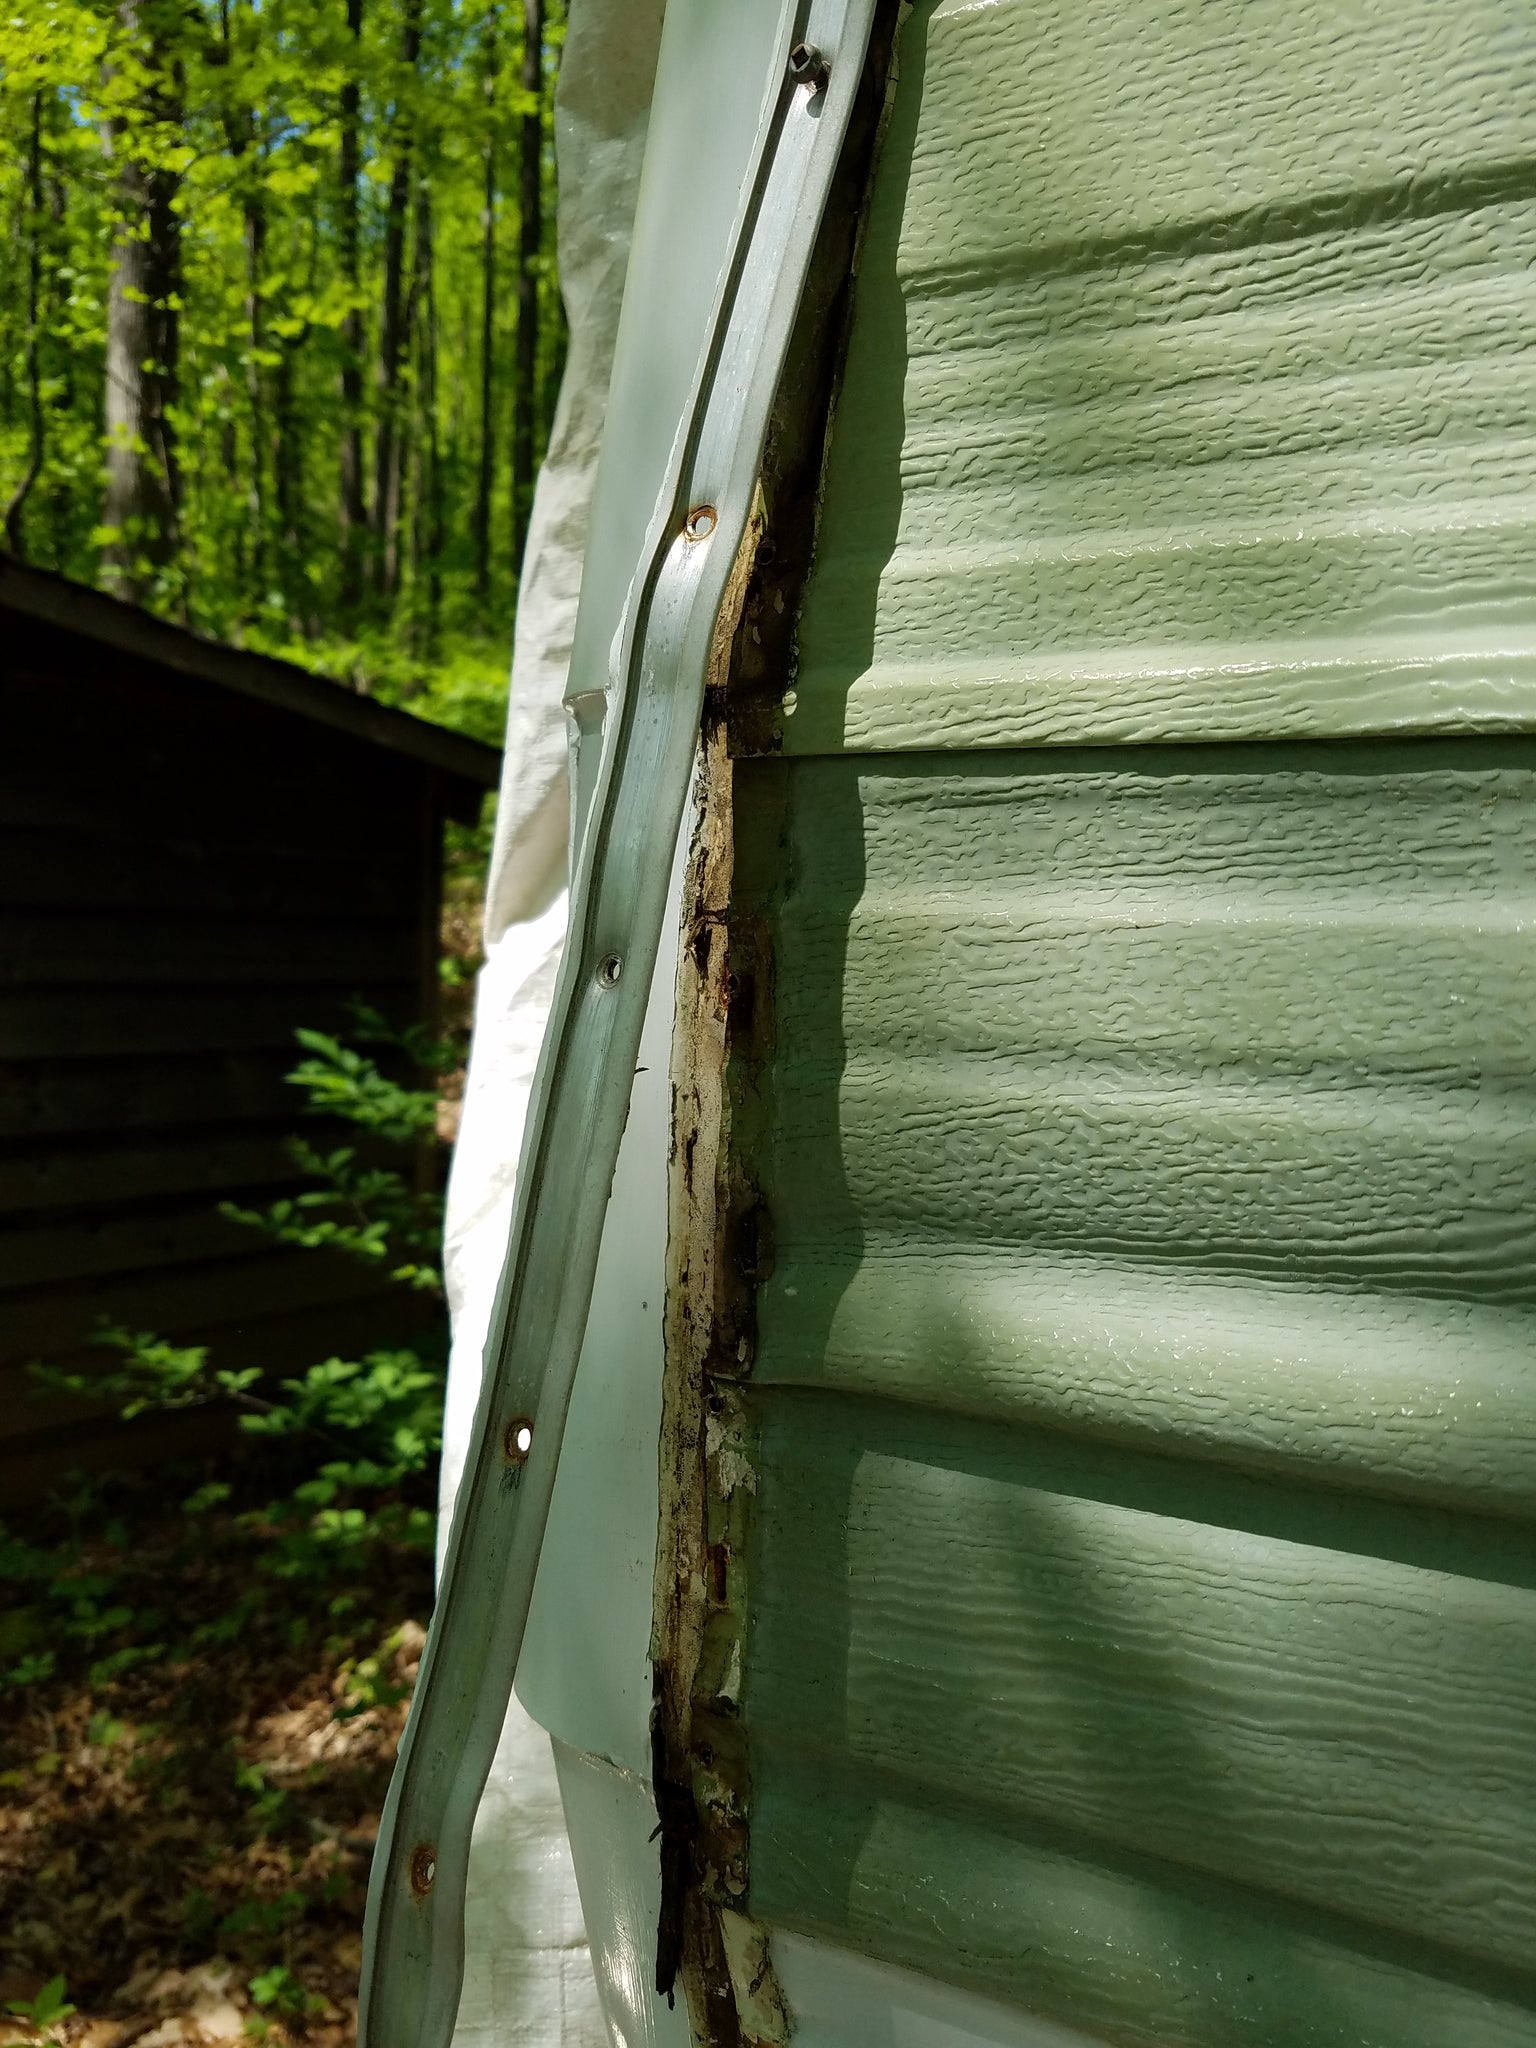
We started by removing the metal trim at the rear edges (the J-rail). The vertical-to-curved-area near the top got disconnected and cleaned, but the top horizontal edge remained attached.
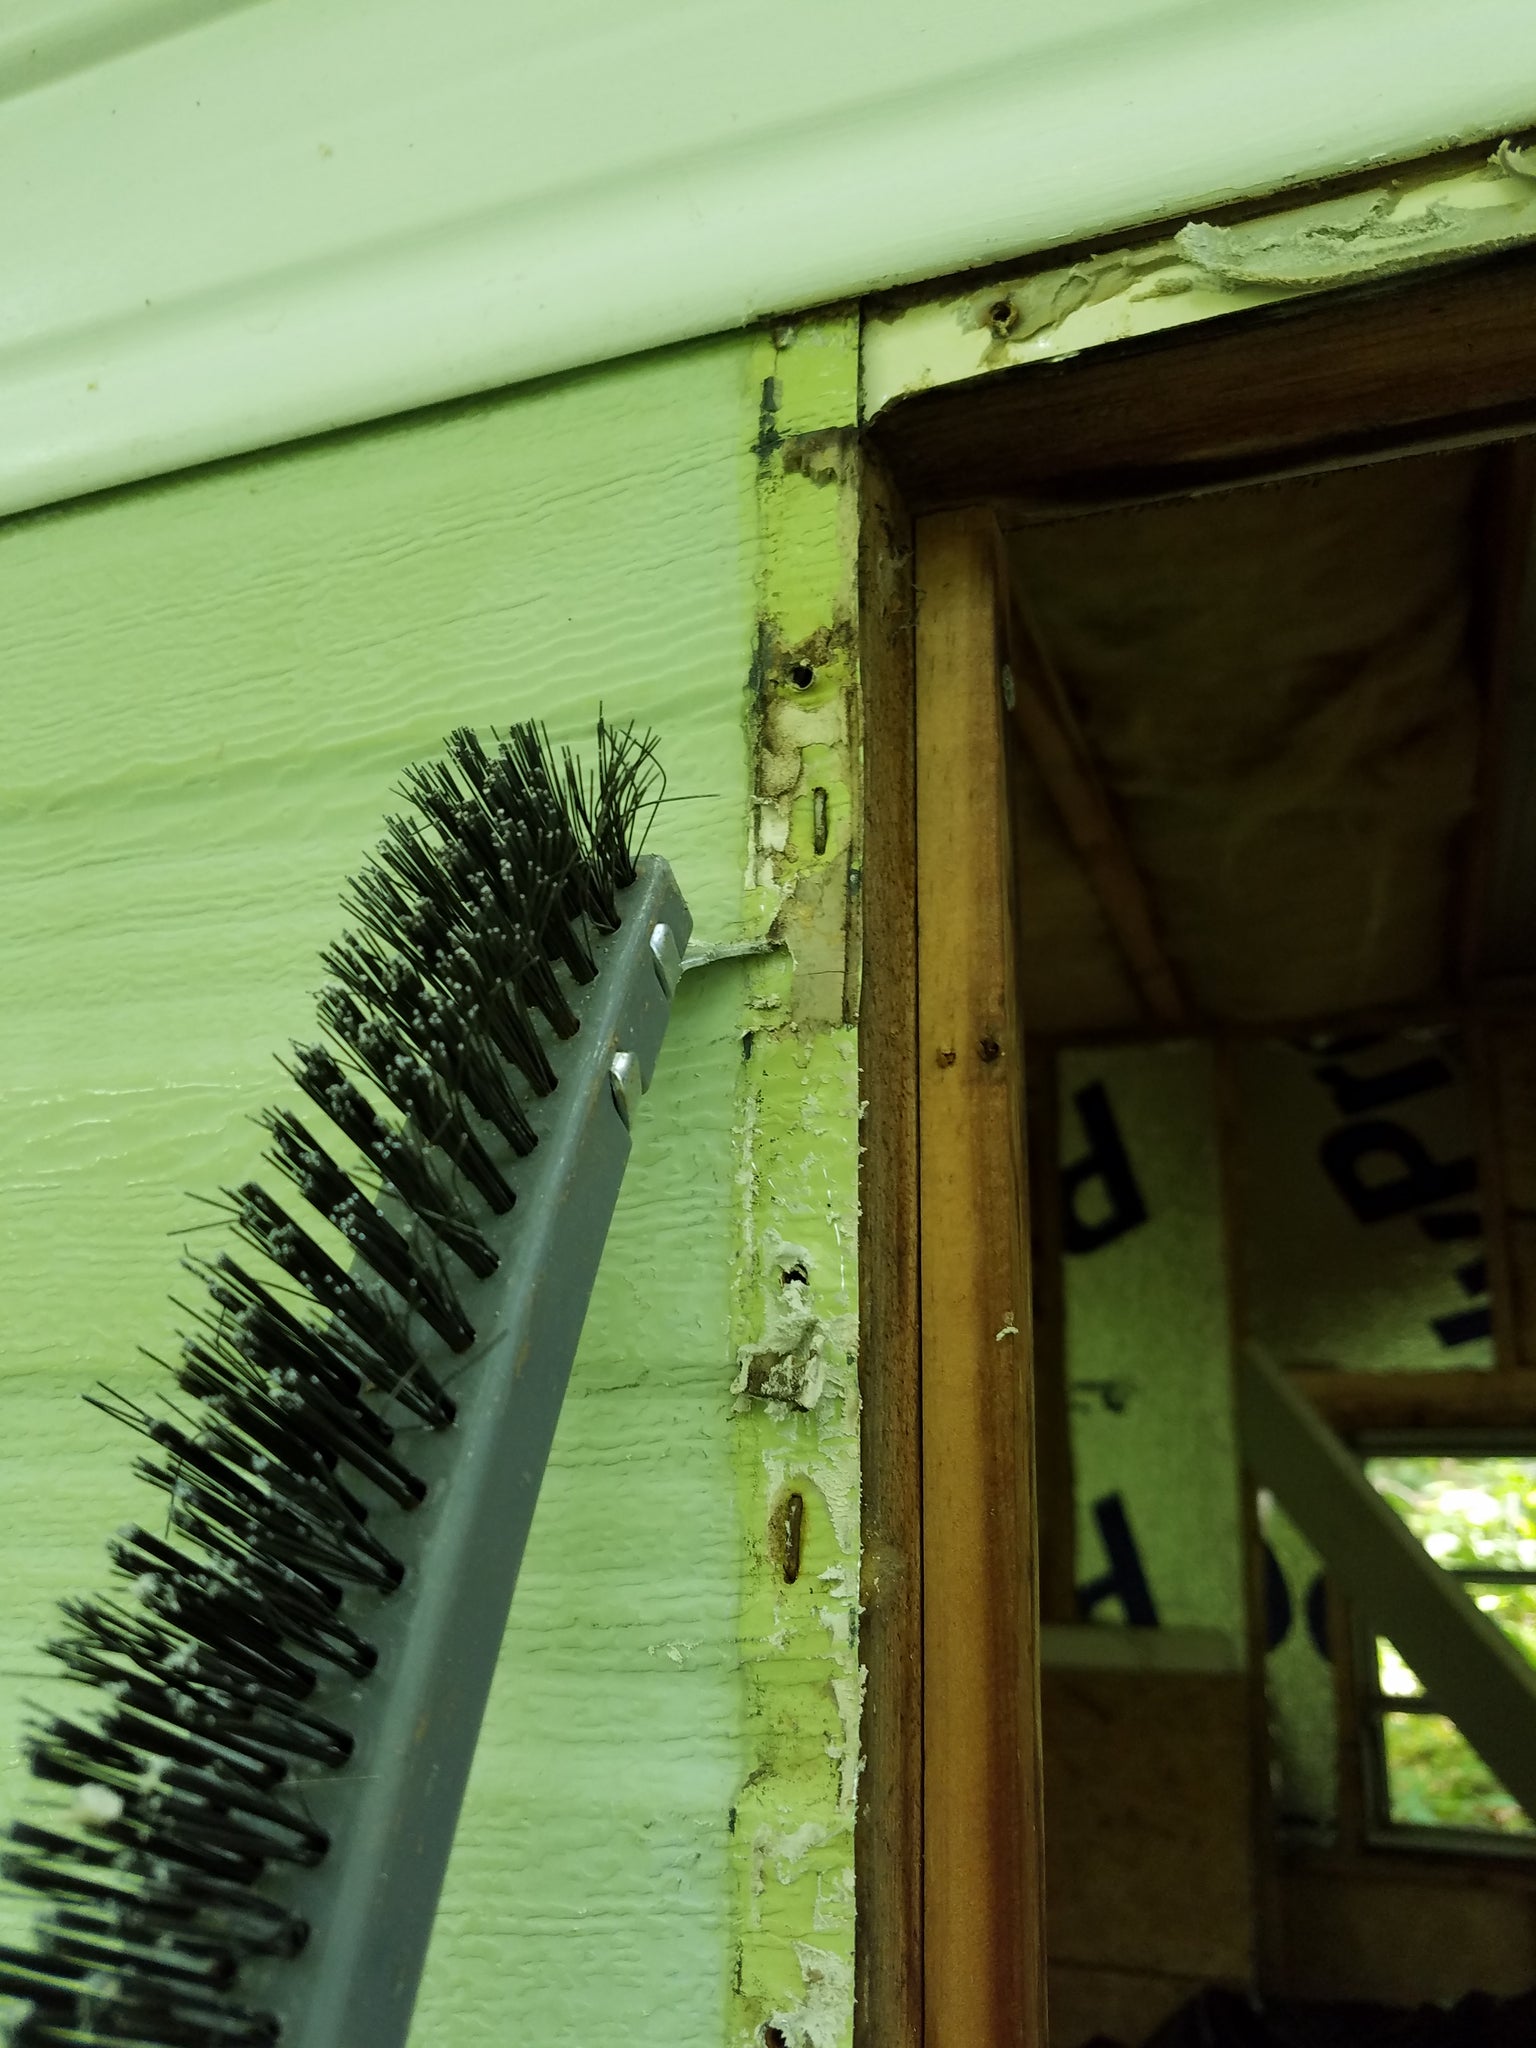
We then cleaned the old butyl tape off with metal putty knives and a wire brush, at times using a metal brush attachment on our drill.
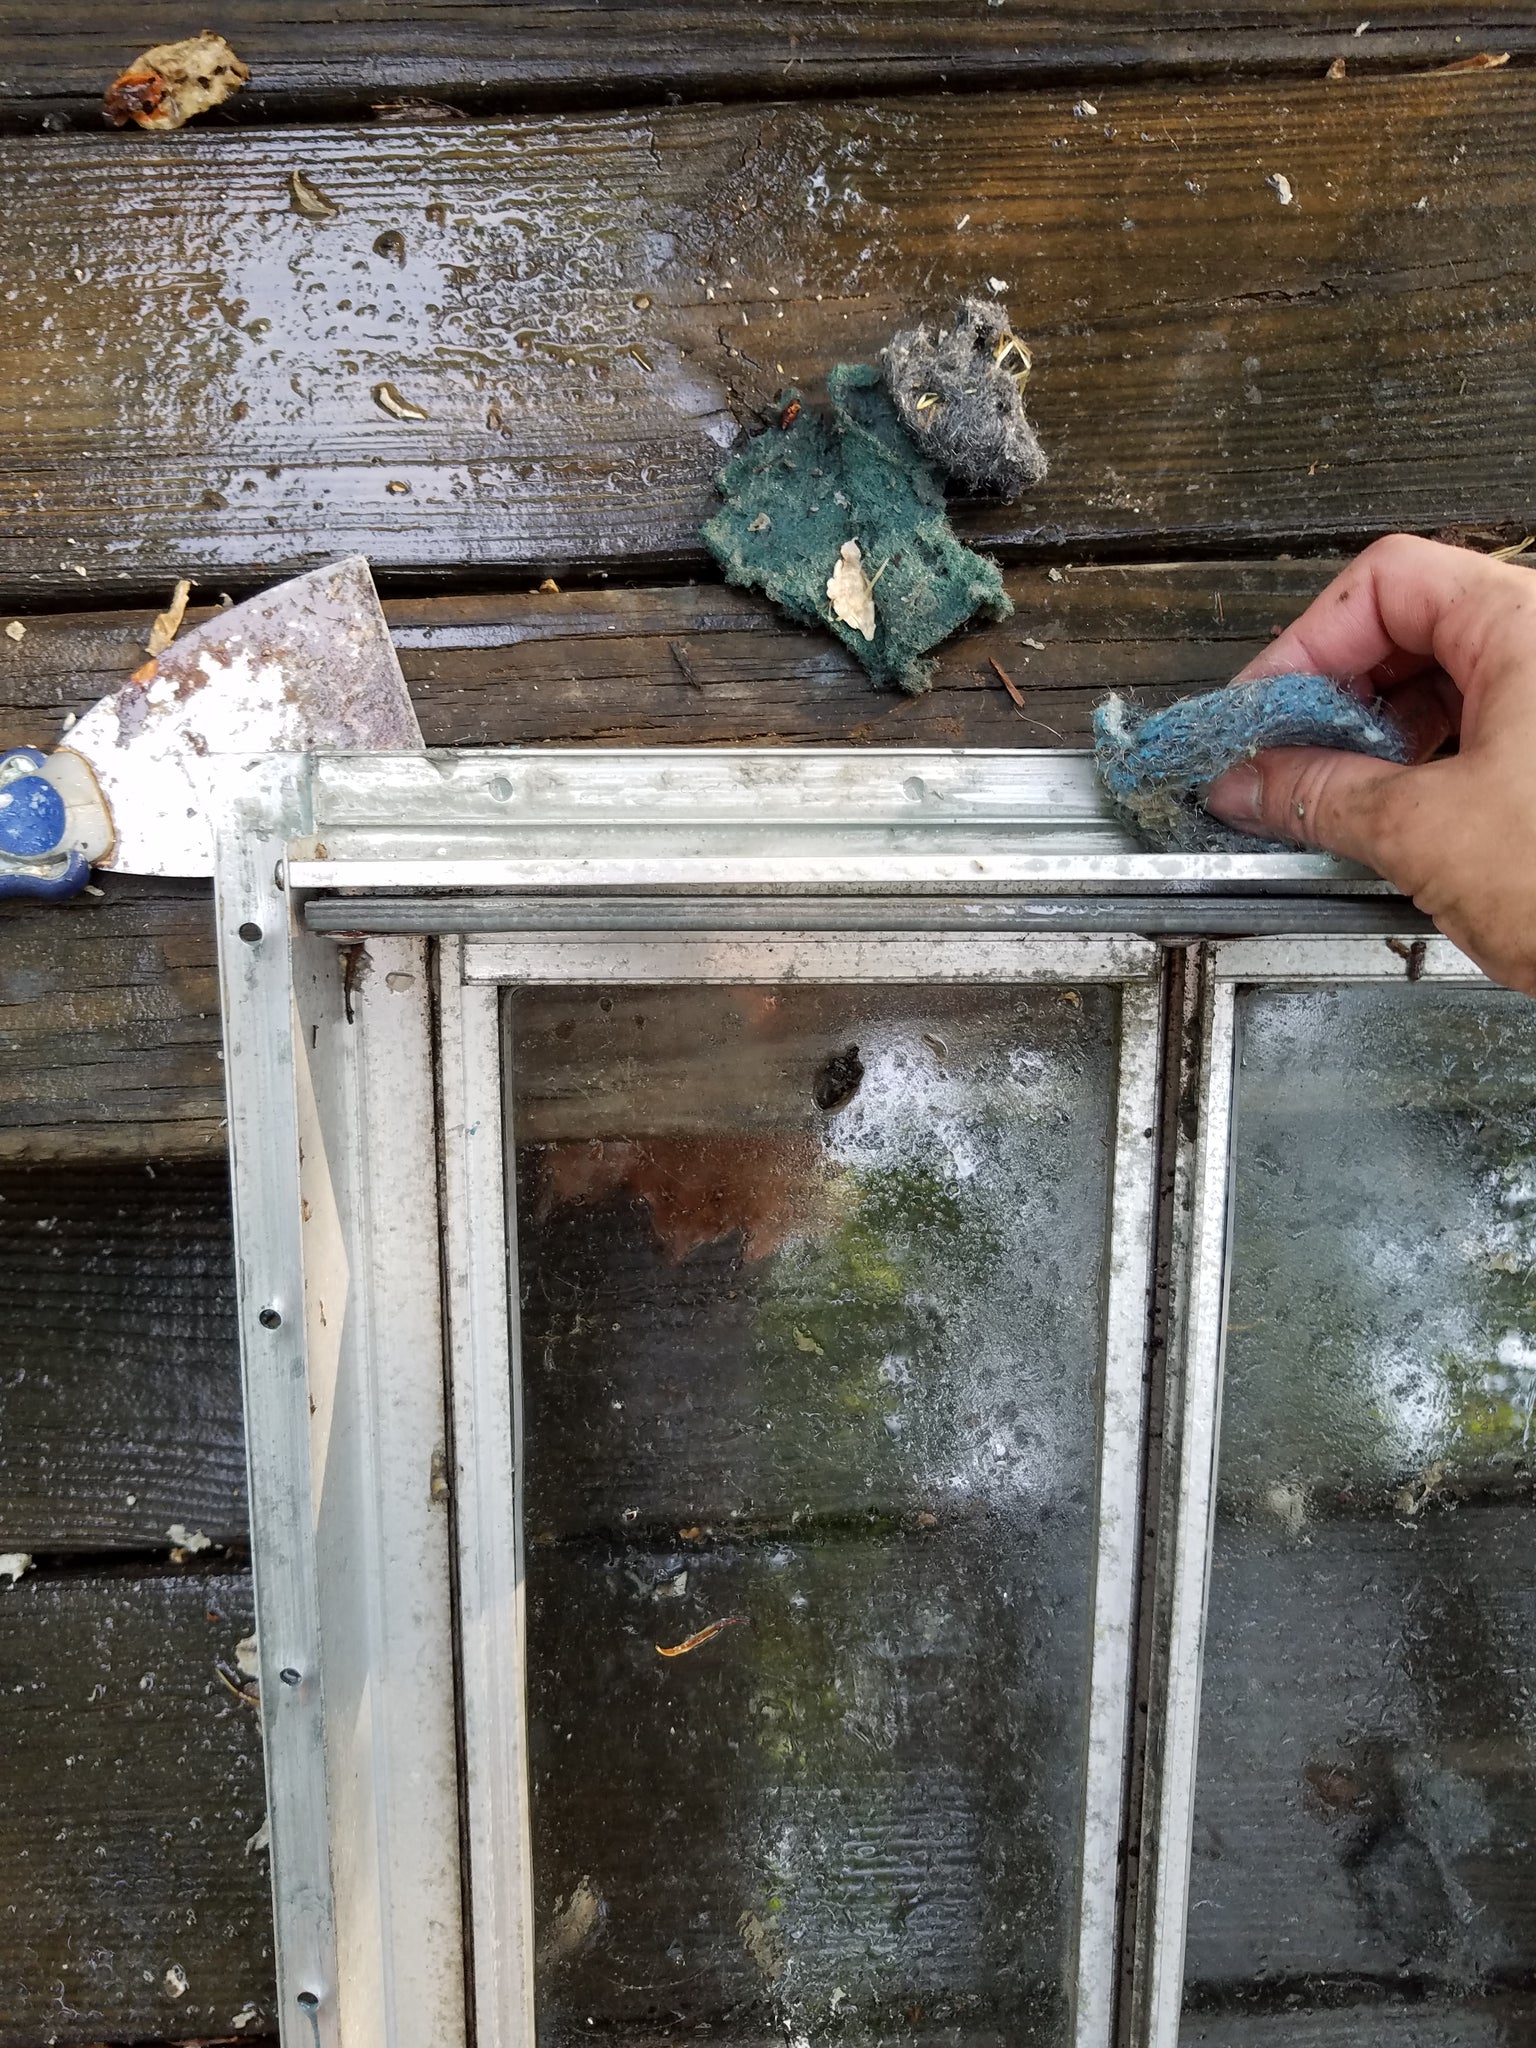
On the trim, I used steel wool, the putty knife, and wire brush again to get every last bit of butyl I could off.

Most of the butyl tape on the camper came off easily as it was probably from 1974; only the front window had new butyl tape on it which was a nightmare to remove.

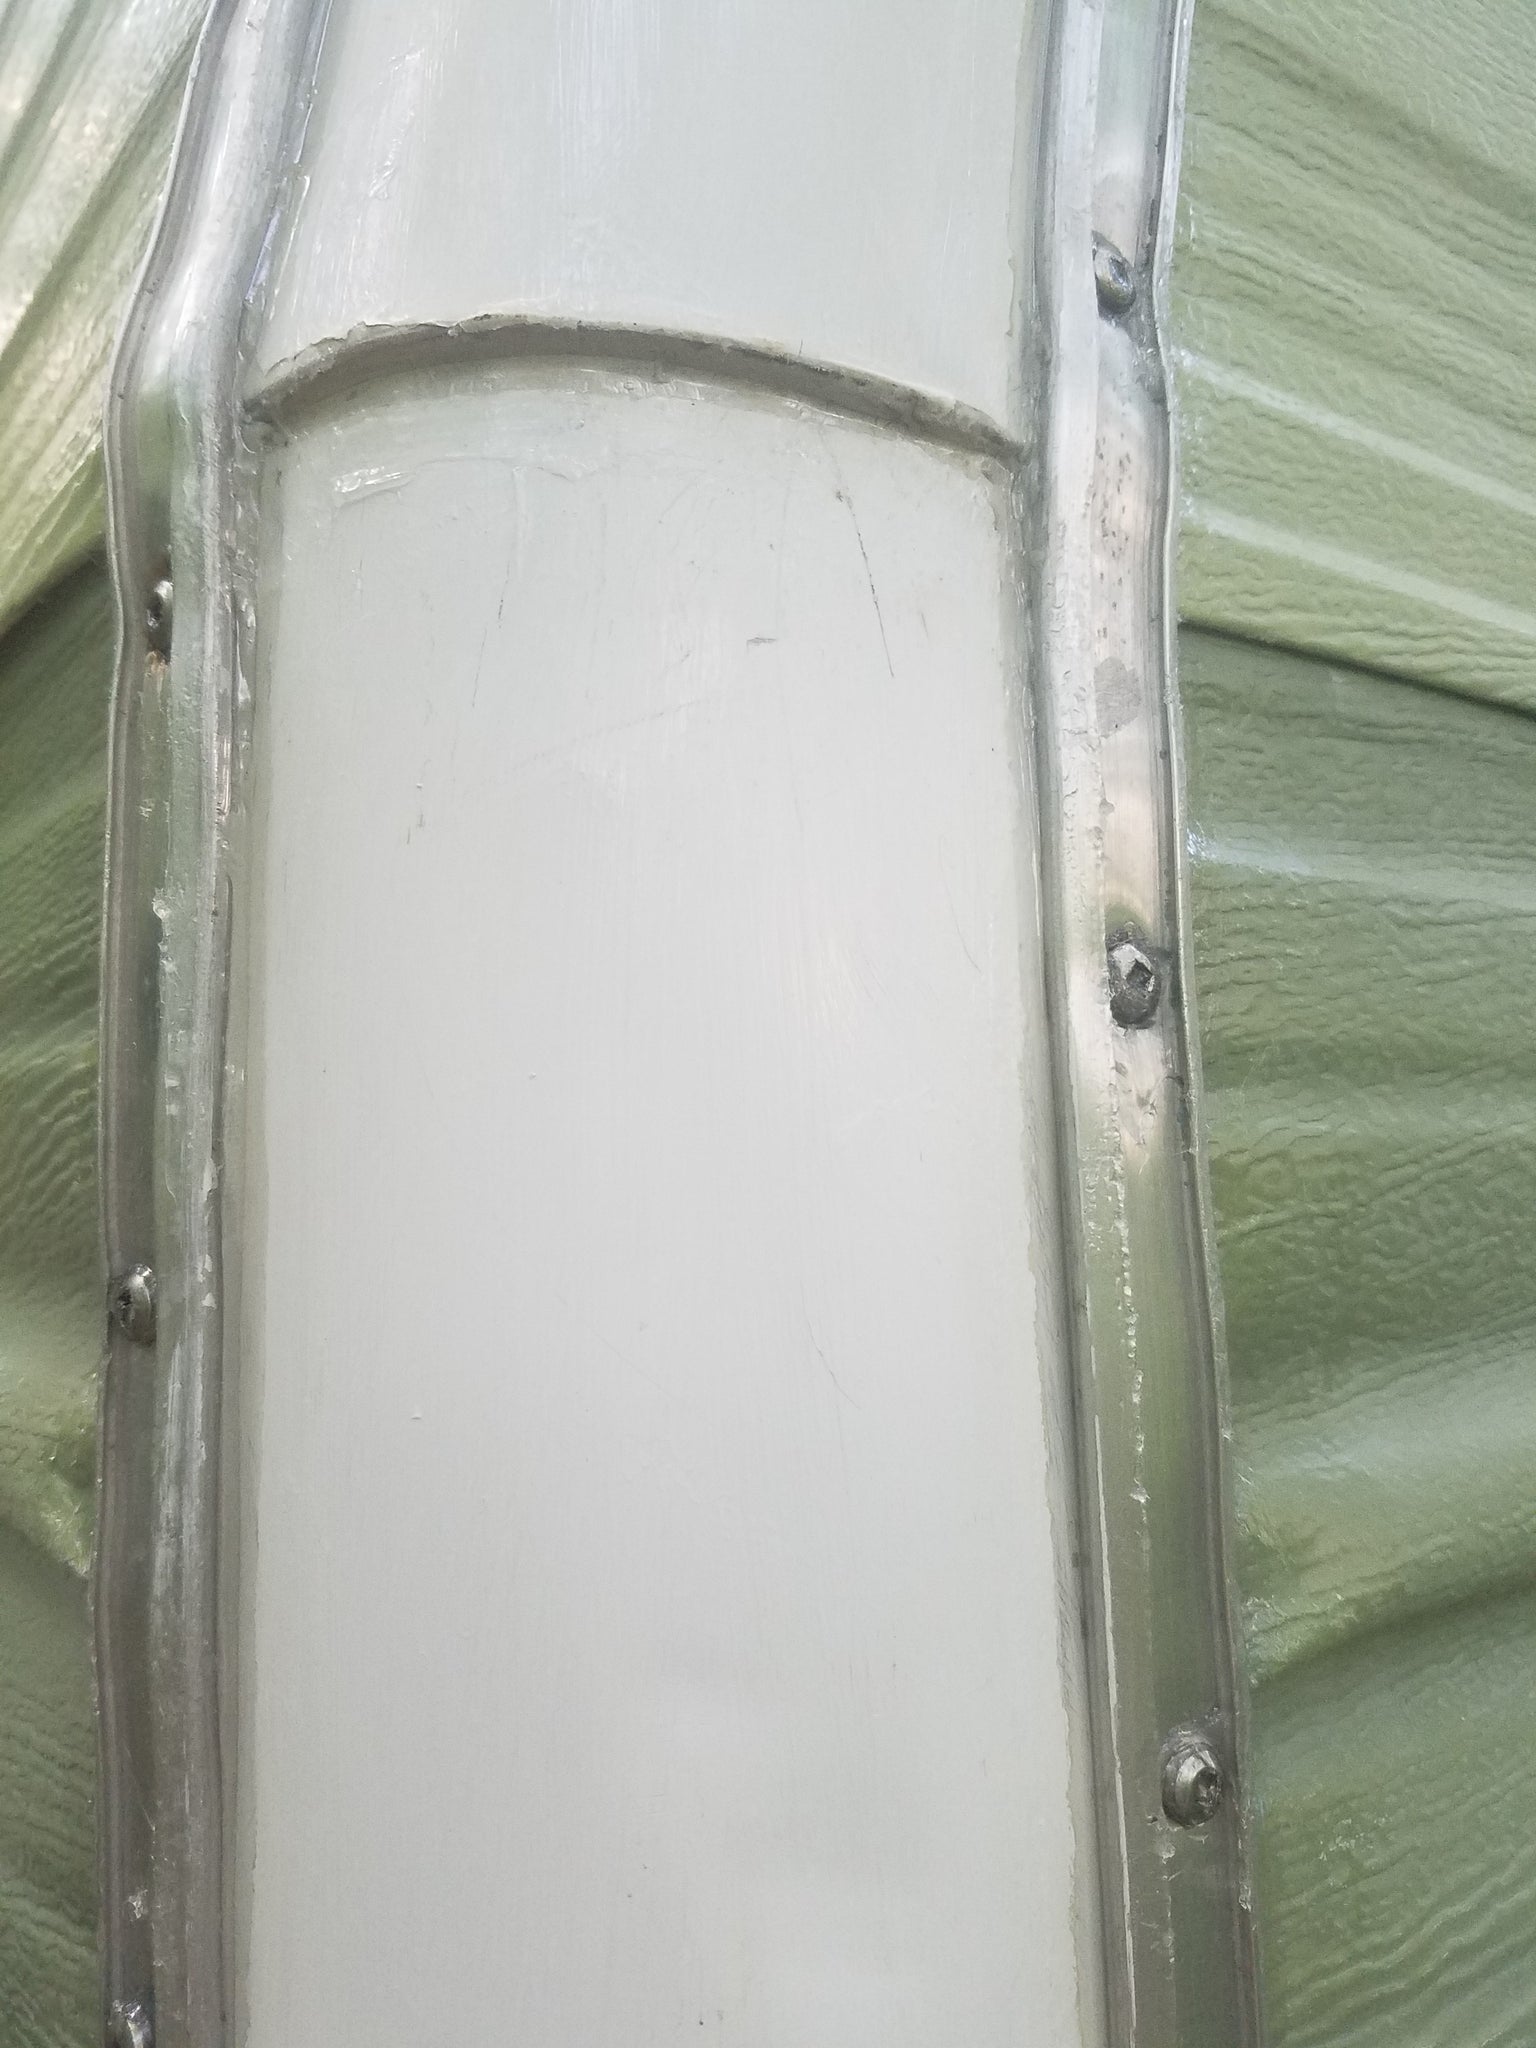
After the trim and the camper were cleaned of most butyl tape and caulk residue (psst! Lots of research said DO NOT USE CAULK, so we didn't), we cleaned each area with rubbing alcohol to ensure a good bond. We applied new butyl tape to the trim and, for the vertical edges of J-rail and for a few window areas, we did two layers of tape to account for the ridges in the siding. After these were applied, we rescrewed the trim onto the camper.

We then sliced off the excess tape that squeezed out using a utility blade, wiped the area with rubbing alcohol again, and then used special RV sealant to seal up the seams. We did the same for all windows and lights. Also! I found some pin holes in one spot of the rear that we sealed up from inside.

As we'd had to reframe the back of the camper, there were a number of places that the screws didn't catch any wood, so we used wooden shims and chunks of leftover 2x2 on the inside so that the screws really pulled tight.
Instead of using the caulk gun to put the sealant on, I ended up just applying it with my finger, allowing for a lot more control overall. By no means does this mean that it's a perfect and pretty job.. I made sure to get a kind of sealant I could paint over and clear so I didn't have to worry too much about it in the meantime. It's sealed and I'm satisfied! Also, fyi, vinegar works well to get the sealant off your skin. It's not recommended to have direct skin contact though.. oops!

We also discovered that the front bay window cover can slide off, so now I don't have to worry about that blocking my view or getting bent by heavy snow, etc. It'll be stored under the camper. (Photo is pre-sealant)
We also discovered some vent areas on the roof were leaking despite being told that the roof had been re-sealed a few months ago. Looking closely, it appears that there are just some cracks that water was pooling at and getting in. For the meantime, I just filled these with our sealant and will plan to do the big, daunting re-sealing-the-roof task at some other time that I'm not thinking of now because I still have so much to do! :P
Phew! Now we can pick up where we were supposed to be back in March or something! Considering the posts and Youtube videos mentioning not working on their camper for months at a time, I feel like we're doing alright. However, I'm hoping things will go much faster from here on out - wish me luck!
By the way, we used:
7 rolls of butyl tape (30' rolls)
3 tubes of Geocel Pro Flex RV Sealant
200 new square head screws (at lower J-rail)
100 new hex head screws (at windows and upper J-rail)