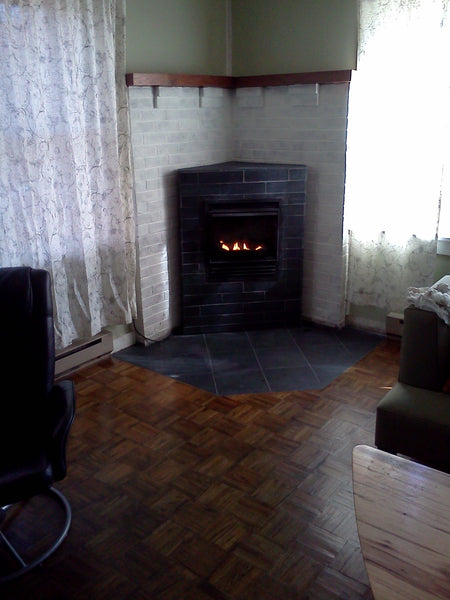
While I do a lot of designing for beve with product development and marketing, it's not my only creative outlet. One of my favorite things to do it to renovate. We've done lots of projects, big and small, around our house and this is one of the most recent. As it's getting chilly, I thought it was a good time to share!
Our home has a corner propane "buck stove" in the living room in addition to electric base board heating throughout. When we moved in, the brick area surrounding it was a multi-colored red brick. This was painted pretty early on when we were smoothing out our walls. The not-so-pretty, decorative wood surround remained, however. As did the flashy "gold" accents on the stove itself.
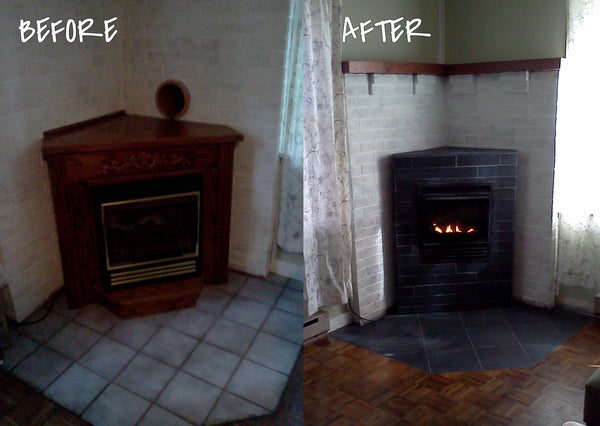
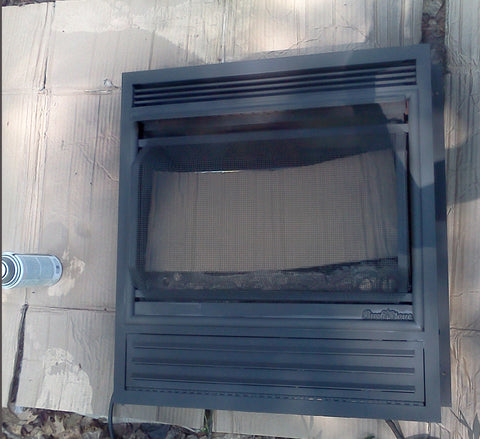
After living with the 'before' for about five years, we were finally ready to focus on this project. You'll notice that we kept the same stove, saving lots of money in the process. I cleaned it and gave it a good spraying with matte black paint to cover up the gold and help minimize the faux logs.
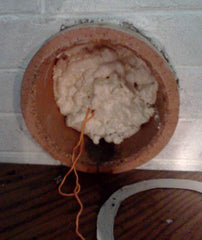
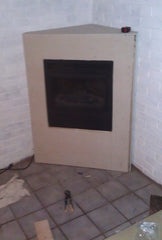
One prerogative in renovating this area was to cover up the unused chimney flue in the wall, too. Why not use the chimney you ask? Well, the buck stove was already all set up and Chris is somewhat allergic to wood smoke, so we stuck with our propane stove. In order to cover up the flue, we had to create a fireplace surround that was a good 18"+ higher than the original one. We built a pentagonal frame high and wide enough to cover the (now filled and insulated) flue and shifted the stove up higher than it sat before to keep the surround appearing balanced. We aren't carpenters, so it's not the prettiest wood working in there, but it's sturdy enough :)
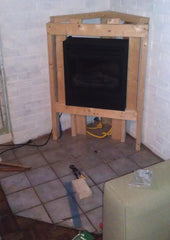
We then covered it with a thin Hardibacker in preparation for tile. My first job after college was working in a tile and stone showroom doing sales and helping folks design their kitchen, bath and fireplaces and renovations. Thus, I knew exactly what I wanted. We used black Sheldon Slate which has very dense clefting and is only 1/4" thick and doesn't shale (break off) for both the surround and to replace the tile at the floor. The floor tile had been a cheap blue-grey ceramic in 8x8. We busted that up and were left with the perfect depth for our slate to match our parquet floor. We decided to do the 12x12 slate in a diagonal pattern, matching the pentagonal-shaped tiled area of the floor and the angle of the corner fireplace surround. I'm usually not a huge fan of diagonally-set tile, but in this situation, it would have appeared more diagonal if it were straight set due to the lines of the spaces.
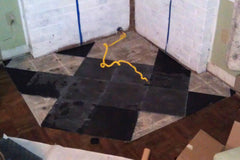
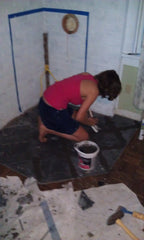
Floor tile went in with the help of a borrowed wet saw. Add in some sanded grout in Charcoal (Mapei) and matching caulk for where it meets wood and we were all set for the surround to go on top. We decided to reference the brick surround and help add more horizontal lines to counter the verticality of the surround by cutting the 12x12 tiles into 3x12s and laying them in a brick/subway bond pattern. Because the slate has a rectified (90 degree angle, straight cut) edge, our cuts would match the tile's edges.. as long as we cut them smoothly and straight!
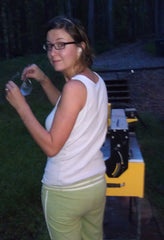
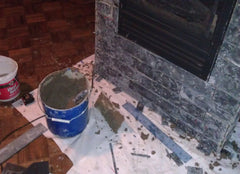
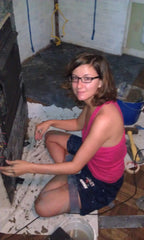
After lots and lots of cutting (mostly straight, smooth lines), we tiled the fireplace surround (12x12s on the top, like the floor below), grouted, and caulked around the stove. We even had some tile left over to make a set of coasters that we use all the time by adding a few felt stars from Michael's to the bottoms. We also ended up drilling a makeshift hook into the brick mortar behind the surround and attached the surround to the wall as it was a bit front-heavy and we didn't want any squished babies or kitties!
I think we spent about $100 in materials for the tile, grout, caulk, backer board, wood and spray paint. Not bad!
What do you think of the end result?
